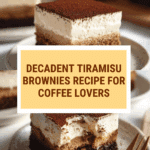
Tiramisu Brownies Recipe
Introduction
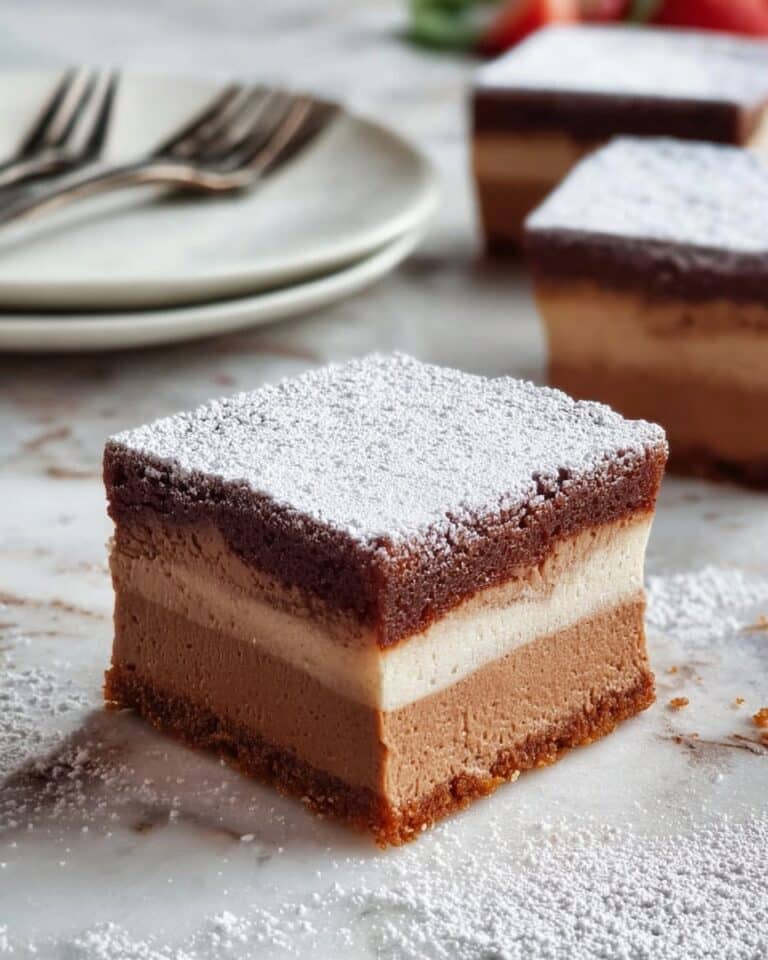
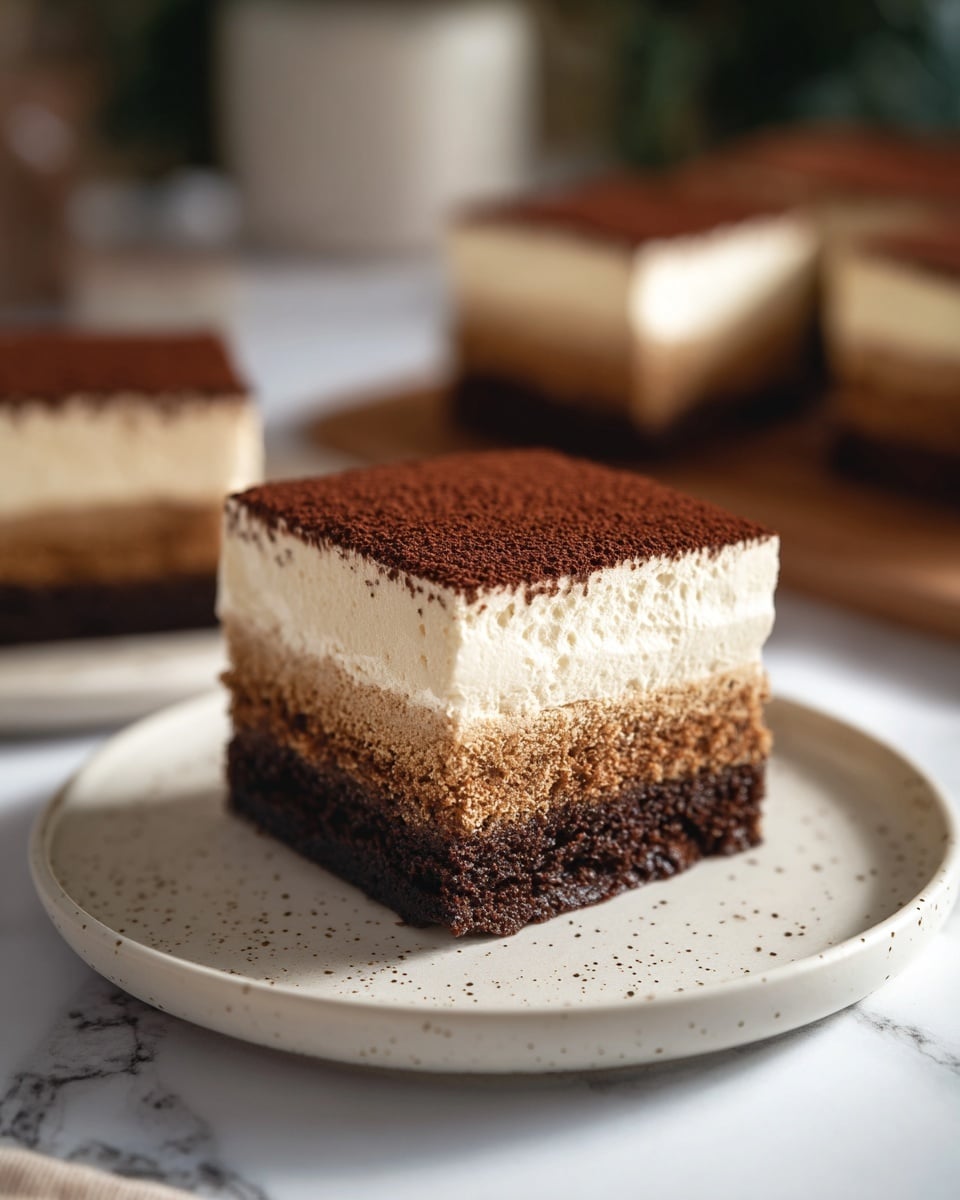
Tiramisu Brownies combine the rich, fudgy texture of classic brownies with the creamy, coffee-soaked flavors of traditional tiramisu. This layered dessert is perfect for impressing guests or treating yourself to a luxurious homemade sweet.
Ingredients
- 100 g dark or semi-sweet chocolate (finely chopped)
- 50 g natural cocoa powder
- 230 g unsalted butter (roughly cubed)
- 4 large eggs (room temperature)
- 150 g granulated sugar
- 100 g brown sugar
- 100 g all-purpose flour
- 250 g mascarpone cheese (cold)
- 200 g whipping cream (cold)
- 50 g powdered sugar
- 1/2 teaspoon vanilla extract
- 2 teaspoons espresso powder
- 150 g hot water
- 1 tablespoon coffee liqueur or dark rum (optional)
- 12 ladyfingers
- 1 tablespoon cocoa powder (for dusting)
Instructions
- Step 1: Preheat the oven to 350°F. Line a 9×9″ square baking pan with parchment paper, extending it up the sides for easy removal later.
- Step 2: In a medium bowl, combine the chopped chocolate and cocoa powder. Set aside.
- Step 3: Melt the butter in a small pan over medium heat. Continue cooking until the milk solids separate, bubble, and turn golden brown with a nutty aroma. Remove from heat immediately.
- Step 4: Pour the browned butter over the chocolate mixture and let stand for 3 minutes, then stir until smooth. Set aside.
- Step 5: In a large bowl, whisk the eggs with granulated and brown sugars until well combined, about 3 minutes. Slowly pour the chocolate mixture into the eggs while whisking continuously.
- Step 6: Gently fold in the flour with a spatula until just combined; avoid overmixing.
- Step 7: Transfer the brownie batter to the prepared pan. Spread evenly to the edges using an offset spatula.
- Step 8: Bake for 28-30 minutes or until a toothpick inserted in the center comes out mostly clean but slightly moist. Let cool in the pan on a wire rack or in the fridge.
- Step 9: For the mascarpone cream, beat mascarpone cheese until creamy. Add whipping cream, powdered sugar, and vanilla extract. Beat until thickened and slightly firm, about 5-10 minutes. Set aside.
- Step 10: Stir espresso powder into hot water along with coffee liqueur if using. Briefly dip each ladyfinger into the coffee mixture for about 1 second per side, letting excess drip off.
- Step 11: Arrange the soaked ladyfingers in rows over the cooled brownie layer.
- Step 12: Spread the mascarpone cream evenly over the ladyfinger layer using an offset spatula.
- Step 13: Chill the assembled tiramisu brownies in the fridge for about 1 hour to set the cream and soften the ladyfingers.
- Step 14: Just before serving, dust the top with cocoa powder using a fine mesh sieve. Lift the dessert out of the pan with the parchment paper and cut into squares, wiping the knife between cuts for clean slices.
Tips & Variations
- Use freshly brewed espresso powder for authentic tiramisu flavor; instant coffee can be a substitute but may alter the taste slightly.
- For a boozier version, increase the coffee liqueur or substitute with dark rum, but keep ladyfingers’ dipping time short to avoid sogginess.
- To make smaller servings, prepare in mini baking pans or individual ramekins.
- Keep all dairy ingredients cold to ensure the mascarpone cream whips to the perfect consistency.
Storage
Store leftover tiramisu brownies covered in the refrigerator for up to 3 days. They are best enjoyed chilled but can be left at room temperature for 20-30 minutes before serving for softer texture. Reheating is not recommended, as it may affect the cream layer.
How to Serve
Serve this delicious recipe with your favorite sides.
FAQs
Can I make tiramisu brownies ahead of time?
Yes, you can prepare the brownies and mascarpone cream in advance. Assemble them on the day you plan to serve for the freshest texture. Once assembled, store them chilled for up to a day before serving.
What can I use if I don’t have ladyfingers?
If ladyfingers are unavailable, use thin sponge cake slices or store-bought sheet cake cut into strips. Dip them briefly in the coffee mixture to mimic the traditional tiramisu texture.
PrintTiramisu Brownies Recipe
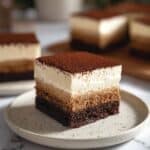
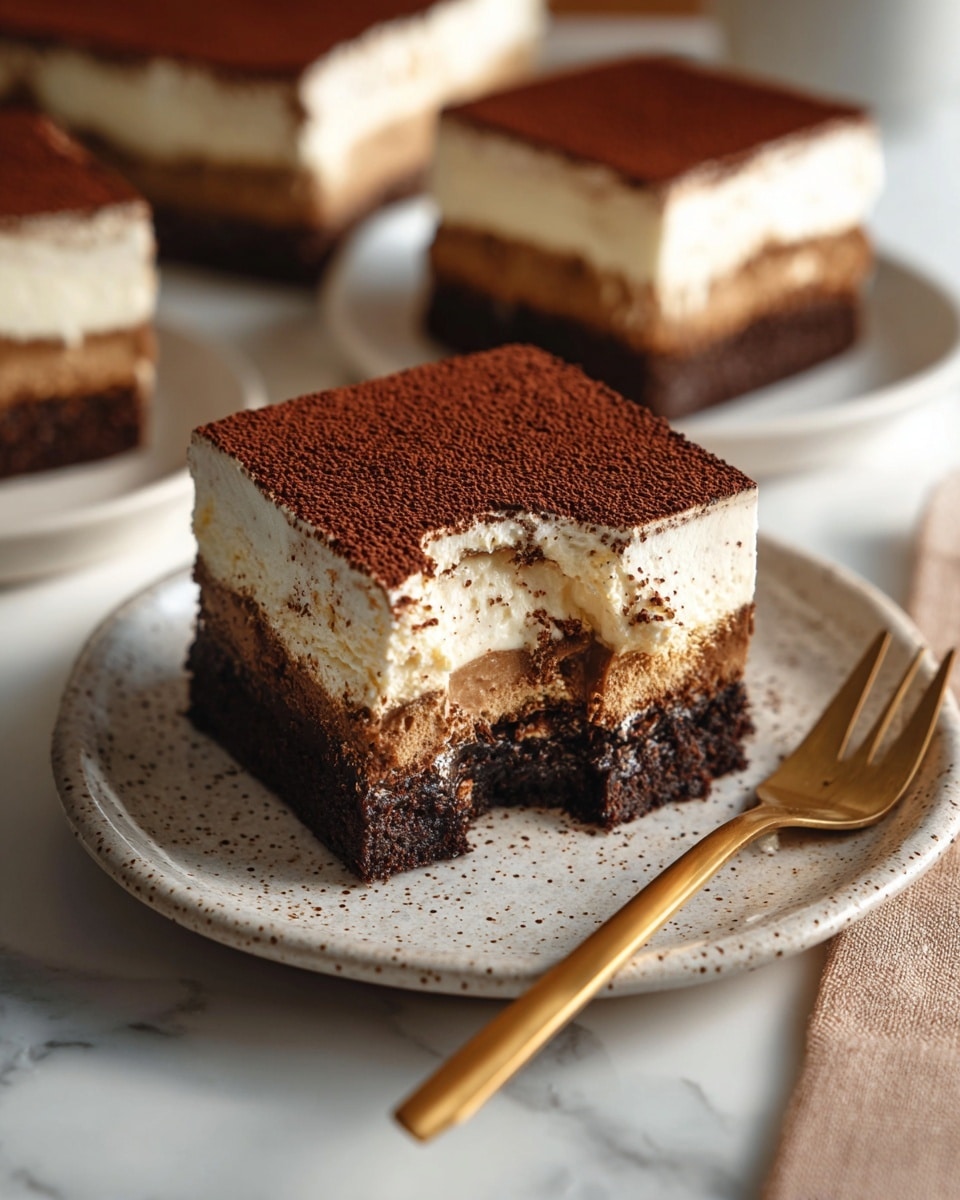
These Tiramisu Brownies combine the rich, fudgy texture of chocolate brownies with the creamy, coffee-infused flavors of classic tiramisu. Featuring layers of dense brownie, espresso-soaked ladyfingers, and a luscious mascarpone cream topping dusted with cocoa powder, this dessert offers a decadent twist on two beloved treats.
- Prep Time: 25 minutes
- Cook Time: 30 minutes
- Total Time: 1 hour 55 minutes
- Yield: 16 squares 1x
- Category: Dessert
- Method: Baking
- Cuisine: Italian-American
Ingredients
Brownie Layer
- 100 g dark or semi-sweet chocolate, finely chopped
- 50 g natural cocoa powder
- 230 g unsalted butter, roughly cubed
- 4 large eggs, room temperature
- 150 g granulated sugar
- 100 g brown sugar
- 100 g all-purpose flour
Mascarpone Cream
- 250 g mascarpone cheese, cold
- 200 g whipping cream, cold
- 50 g powdered sugar
- 1/2 teaspoon vanilla extract
Espresso Soak and Assembly
- 2 teaspoons espresso powder
- 150 g hot water
- 1 tablespoon coffee liqueur or dark rum (optional, e.g. Kahlua)
- 12 ladyfingers
- 1 tablespoon cocoa powder, for dusting
Instructions
- Preheat and Prepare Pan: Preheat your oven to 350°F (175°C). Line a 9×9 inch square baking pan with parchment paper, ensuring it overlaps the sides for easy removal. Secure the parchment with binder clips if necessary.
- Prepare Chocolate Mixture: In a medium bowl, combine the finely chopped dark or semi-sweet chocolate and natural cocoa powder. Set aside.
- Browning the Butter: Heat the unsalted butter in a small pan over medium heat. Cook it until melted and the milk solids separate and brown at the bottom of the pan, giving off a nutty aroma. Remove immediately to prevent burning.
- Melt Chocolate with Browned Butter: Pour the browned butter over the chocolate and cocoa mixture. Let sit for 3 minutes undisturbed, then stir until completely melted and smooth. Set aside.
- Mix Eggs and Sugars: In a large mixing bowl, whisk together the eggs, granulated sugar, and brown sugar using an electric mixer or hand whisk until well combined and slightly thickened, about 3 minutes.
- Combine Mixtures: While whisking continuously, slowly stream the chocolate and browned butter mixture into the egg and sugar mixture until fully combined.
- Fold in Flour: Add the all-purpose flour and gently fold it in with a spatula until just combined, taking care not to overmix.
- Bake Brownies: Transfer the batter into the prepared pan and spread evenly with an offset spatula. Bake in the preheated oven for 28-30 minutes, or until a toothpick inserted in the center comes out mostly clean with a few moist crumbs.
- Cool Brownies: Remove from oven and cool completely on a wire rack or refrigerate briefly. The sides of the pan should be cool before proceeding, although the brownie surface can remain slightly warm.
- Prepare Mascarpone Cream: In a large bowl, beat the mascarpone cheese until creamy and loosened. Add whipping cream, powdered sugar, and vanilla extract. Beat until thickened and able to hold soft peaks, about 5-10 minutes.
- Make Espresso Soak: In a shallow dish or cup, dissolve espresso powder in hot water and stir in coffee liqueur or dark rum if using.
- Dip Ladyfingers: Quickly dip each ladyfinger into the espresso mixture for about 1 second per side, ensuring they remain firm and not soaked through. Arrange the dipped ladyfingers in rows over the cooled brownie layer.
- Assemble Tiramisu Layer: Spread the mascarpone cream evenly over the layer of soaked ladyfingers using an offset spatula.
- Chill: Refrigerate the assembled tiramisu brownies for at least 1 hour to allow the cream to set and the ladyfingers to soften.
- Finish and Serve: Just before slicing, sift cocoa powder evenly over the top. Use the parchment paper overhangs to lift the brownies out of the pan, then slice into squares with a clean sharp knife, wiping between cuts for neat slices.
Notes
- Use room temperature eggs to ensure better mixing and texture in the brownie batter.
- Be careful not to over-soak the ladyfingers; a quick dip maintains texture and prevents sogginess.
- Brown the butter carefully to avoid burning; it should smell nutty and have golden milk solids.
- If coffee liqueur or dark rum is omitted, increase espresso powder slightly for stronger coffee flavor.
- These brownies are best served chilled but can be brought to room temperature before serving for softer texture.
- Store leftovers covered in the refrigerator for up to 3 days.
Keywords: Tiramisu Brownies, Coffee Brownies, Mascarpone Dessert, Layered Brownies, Espresso Brownies, Italian Dessert