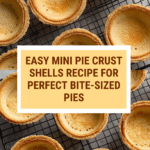
Mini Pie Crust Shells Recipe
Introduction
These mini pie crust shells are perfect for individual tarts, quiches, or sweet pies. Easy to make with either homemade or store-bought dough, they offer a crisp, golden base for a variety of delicious fillings.
Ingredients
- 2 pie crusts (9 inches), homemade or store bought
- 2 tablespoons all-purpose flour, for work surface and rolling out dough
Instructions
- Step 1: Preheat your oven to 400 °F. Roll out the pie crust so it is thin but not too thin, allowing it to stretch over the cupcake cavities on your baking pan.
- Step 2: Lightly flour a round cutter and cut out twelve circles. If you cannot get twelve crusts, gather the dough into a ball, refrigerate for ten minutes, then re-roll.
- Step 3: Flip your cupcake baking tin so the cavities face down. Fit each dough circle over the cavities, stretching them to the bottom of the tin and pressing down slightly.
- Step 4: Pierce the crusts with a fork and place the pan in the freezer for five minutes to prevent shrinking during baking.
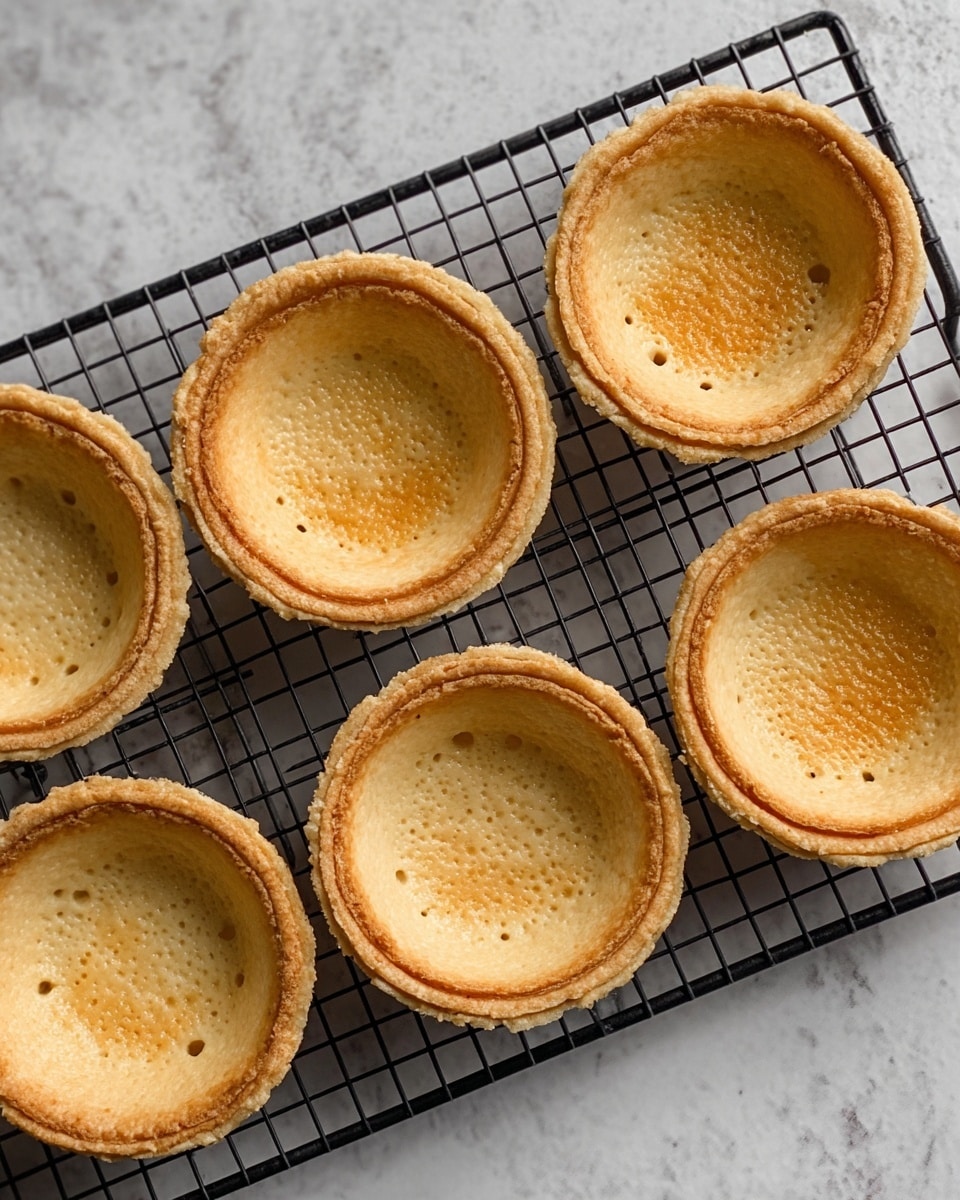
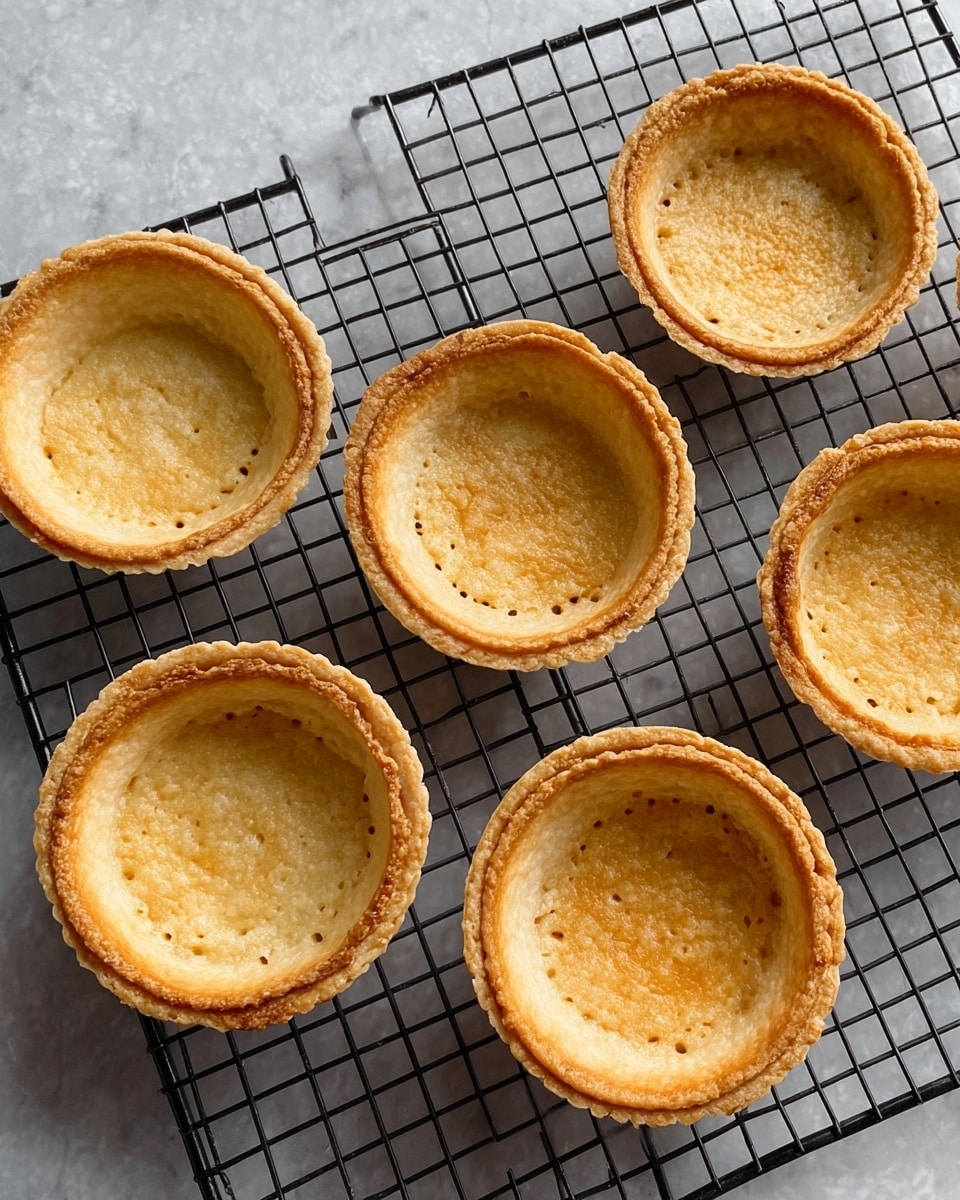
- Step 5: Bake the crusts in the oven for 10 to 12 minutes or until golden brown.
- Step 6: Let the mini shells cool in the tin for ten minutes, then transfer to a wire rack to cool completely to room temperature.
Tips & Variations
- Using chilled dough helps achieve a flakier crust and prevents shrinking in the oven.
- If you don’t have a round cutter, a glass or small bowl rim works just as well for cutting circles.
- Try brushing the crusts with a beaten egg before baking for a shiny, golden finish.
Storage
Store cooled mini pie shells in an airtight container at room temperature for up to 2 days. For longer storage, keep them in the refrigerator for up to 5 days or freeze for up to 1 month. Reheat briefly in the oven at 350 °F to restore crispness before filling.
How to Serve
Serve this delicious recipe with your favorite sides.
FAQs
Can I use frozen pie crust for this recipe?
Yes, frozen pie crust works well. Just make sure to thaw it slightly so it’s pliable enough to roll and shape without cracking.
How do I prevent the crust from shrinking while baking?
Chilling the shaped crusts in the freezer for five minutes before baking helps reduce shrinking. Also, avoid stretching the dough too thin over the pan cavities.
PrintMini Pie Crust Shells Recipe

This Mini Pie Crust Shells recipe guides you through creating perfect, flaky miniature pie shells using store-bought or homemade pie crusts. Ideal for individual pies or tarts, these crusts bake up crispy and golden, making a perfect base for sweet or savory fillings.
- Prep Time: 15 minutes
- Cook Time: 12 minutes
- Total Time: 27 minutes
- Yield: 12 mini pie crust shells 1x
- Category: Dessert
- Method: Baking
- Cuisine: American
Ingredients
Pie Crust
- 2 pie crusts (homemade or store-bought, 9-inch size)
For Rolling and Shaping
- 2 tablespoons all-purpose flour (for work surface and rolling out dough)
Instructions
- Preheat Oven: Preheat your oven to 400 °F (204 °C) to prepare for baking the mini pie crust shells.
- Roll Out Dough: Roll out the pie crust so it is thin but not too thin, ensuring it can stretch over cupcake cavities without tearing.
- Cut Circles: Lightly flour your round cutter and cut out twelve circles from the rolled dough. If you don’t get twelve pieces, gather the dough into a ball, chill in the refrigerator for ten minutes, then re-roll and cut.
- Shape Shells: Flip your cupcake baking tin upside down and press each dough circle into the cavities, stretching the crust to the bottom and slightly pressing down for a good shape.
- Prevent Shrinking: Pierce the crust bottoms with a fork to prevent bubbling. Place the tin with crusts in the freezer for five minutes to reduce shrinkage during baking.
- Bake: Bake the crusts in the preheated oven for 10 to 12 minutes or until they turn golden brown.
- Cool: Allow the shells to cool in the pan for ten minutes before transferring them to a wire rack to cool completely to room temperature.
Notes
- Freezing the shells before baking is essential to prevent shrinking.
- If dough gets too warm while shaping, chilling again before re-rolling helps maintain texture.
- These mini crusts can be used immediately or stored in an airtight container for a couple of days.
- Suitable for both sweet and savory pie fillings.
Keywords: mini pie crusts, pie shells, homemade pie crust, mini pies, baking pie crusts