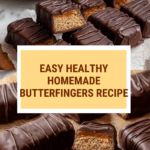
Healthy Homemade Butterfingers Recipe
Introduction
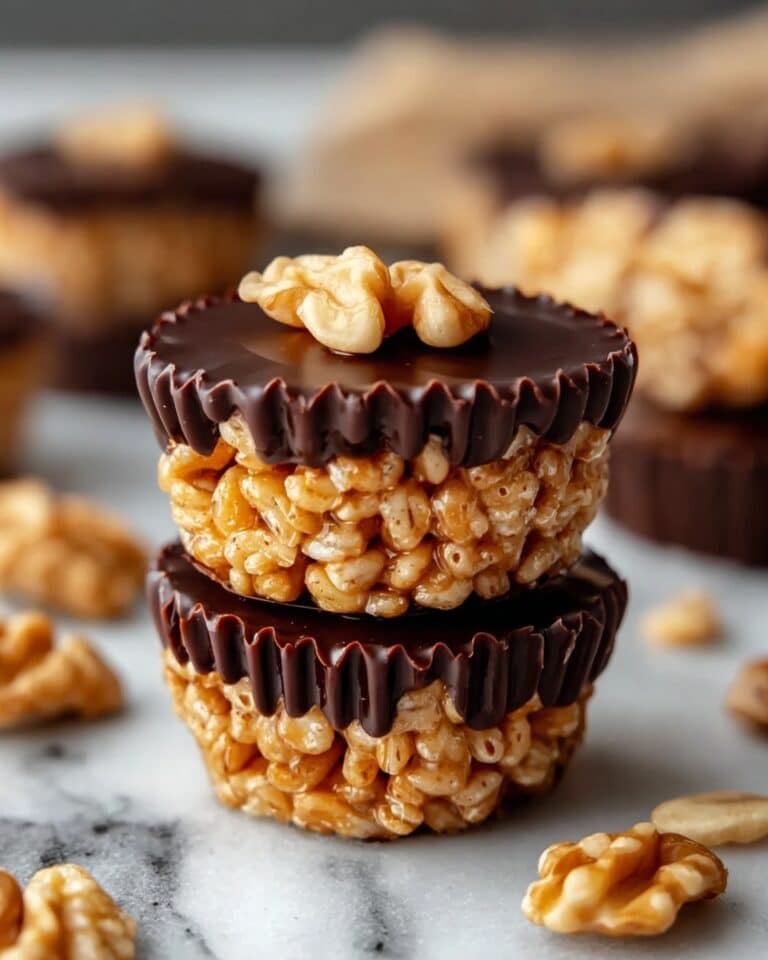
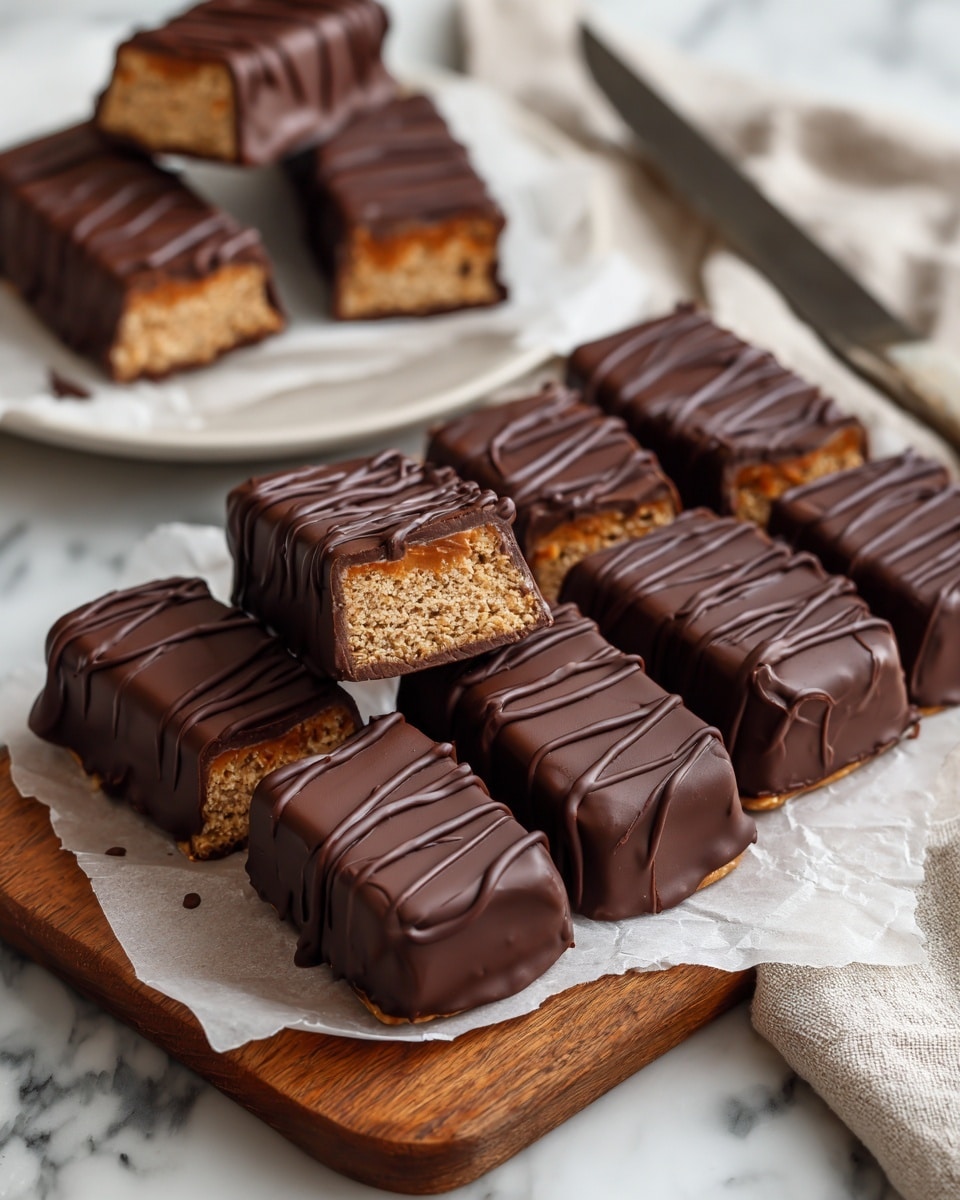
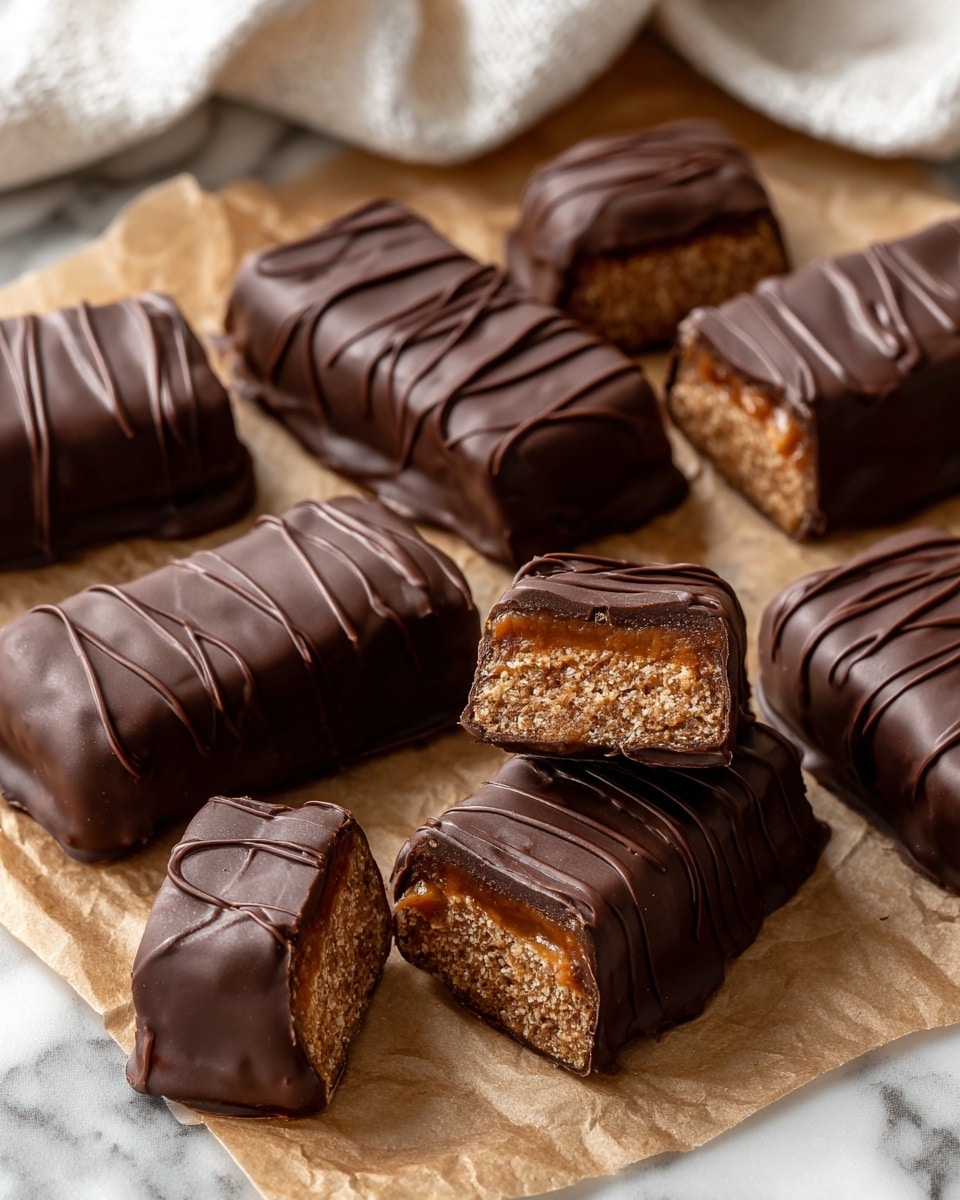
These Healthy Homemade Butterfingers offer a delightful twist on the classic candy bar, made with simple ingredients and no artificial additives. They combine crunchy cornflakes and creamy peanut butter, all coated in rich chocolate for a satisfying treat you can feel good about.
Ingredients
- 1 cup peanut butter
- 1/3 cup honey
- 1/2 tsp vanilla extract
- 1/2 tsp sea salt
- 1 + 3/4 cup cornflake cereal
- 1 cup chocolate chips (dairy free, if needed)
- 1 tsp coconut oil
Instructions
- Step 1: In a saucepan over medium-low heat, warm the peanut butter, honey, vanilla extract, and sea salt for 2 to 4 minutes until the mixture is smooth and heated through.
- Step 2: Transfer the peanut butter mixture to a large mixing bowl and add the cornflake cereal. Stir gently, crushing the cereal slightly so it becomes well coated.
- Step 3: Shape the mixture into 12 to 14 small logs. Place them on a parchment-lined plate or baking sheet and freeze for 1 hour to firm up.
- Step 4: Melt the chocolate chips and coconut oil together in the microwave or on the stove, stirring frequently to avoid burning.
- Step 5: Dip each frozen butterfinger log into the melted chocolate, letting any excess drip off. Place them back on the lined plate and freeze for about 10 minutes until the chocolate sets.
- Step 6: Store the finished butterfingers in the refrigerator or freezer until ready to enjoy.
Tips & Variations
- Use crunchy or creamy peanut butter depending on your texture preference.
- For extra crunch, add chopped nuts or crushed pretzels to the mixture.
- Substitute the cornflake cereal with rice cereal for a lighter texture.
- Try dark chocolate chips for a richer chocolate coating.
Storage
Store the homemade butterfingers in an airtight container in the refrigerator for up to one week, or in the freezer for up to one month. If frozen, allow them to sit at room temperature for a few minutes before eating for the best texture. Reheating is not recommended as it may affect the chocolate coating.
How to Serve
Serve this delicious recipe with your favorite sides.
FAQs
Can I use natural peanut butter for this recipe?
Yes, natural peanut butter works well but may require slightly longer heating to become smooth and blend with the honey.
Is it possible to make these nut-free?
To make a nut-free version, substitute the peanut butter with sunflower seed butter, keeping the same measurements.
PrintHealthy Homemade Butterfingers Recipe

These Healthy Homemade Butterfingers are a deliciously crunchy and peanut buttery treat made with simple, wholesome ingredients. Coated in rich chocolate, they offer a satisfying snack or dessert alternative to traditional candy bars, with a natural sweetness from honey and a crisp cornflake texture.
- Prep Time: 10 minutes
- Cook Time: 4 minutes
- Total Time: 1 hour 15 minutes
- Yield: 12–14 butterfinger logs 1x
- Category: Snack
- Method: Stovetop
- Cuisine: American
- Diet: Gluten Free
Ingredients
Butterfinger Base
- 1 cup peanut butter
- 1/3 cup honey
- 1/2 tsp vanilla extract
- 1/2 tsp sea salt
- 1 3/4 cup cornflake cereal
Chocolate Coating
- 1 cup chocolate chips (dairy free if needed)
- 1 tsp coconut oil
Instructions
- Heat Peanut Butter Mixture: In a saucepan over medium-low heat, combine the peanut butter, honey, vanilla extract, and sea salt. Warm the mixture for 2-4 minutes, stirring occasionally until it is smooth and heated through.
- Mix with Cereal: Transfer the warm peanut butter mixture to a large mixing bowl containing the cornflake cereal. Stir thoroughly, gently crushing some of the cereal pieces as you mix so that every piece is evenly coated.
- Form Logs and Freeze: Shape the mixture into 12-14 logs. Place each log on a parchment-lined plate or baking sheet. Freeze the logs for 1 hour to set them firmly.
- Melt Chocolate: Melt the chocolate chips and coconut oil together either in the microwave in short bursts or on the stovetop in a double boiler, taking care not to burn the chocolate.
- Dip Logs in Chocolate: Dip each frozen butterfinger log into the melted chocolate, letting excess chocolate drip off. Return the coated logs onto the parchment-lined plate and place them back in the freezer for about 10 minutes, or until the chocolate sets.
- Storage: Store the finished butterfingers in the refrigerator or freezer until ready to enjoy.
Notes
- Use dairy-free chocolate chips to make this recipe vegan-friendly.
- Freezing the logs before chocolate coating helps the chocolate set quickly and prevents melting.
- Crushing some cereal pieces during mixing improves the texture and coat coverage.
- Store finished bars in an airtight container in the fridge or freezer for longer freshness.
- Adjust honey quantity for sweetness preference.
Keywords: Healthy Butterfingers, Homemade Candy Bars, Peanut Butter Snack, Chocolate Coated Treat, Gluten Free Dessert