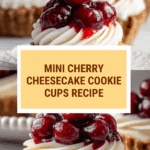
Mini Cherry Cheesecake Cookie Cups Recipe
Introduction
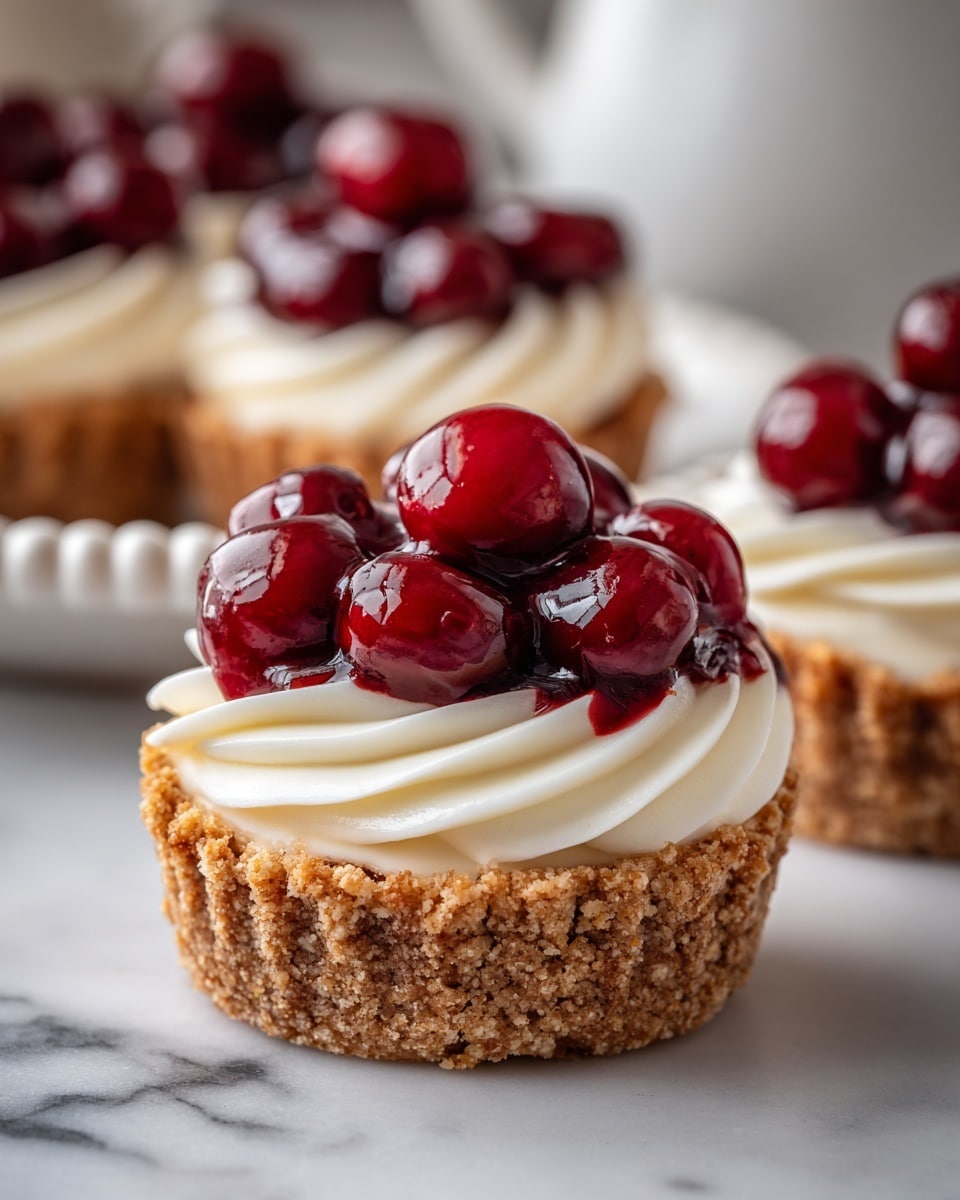
Mini Cherry Cheesecake Cookie Cups are a delightful bite-sized treat combining buttery cookies with a smooth cheesecake filling and a burst of cherry on top. These charming desserts are perfect for parties or a sweet snack any time.

Ingredients
- 6 Tbsp butter, softened
- 1/2 cup sugar
- 1 egg
- 1/4 tsp almond extract
- 1/2 tsp vanilla extract
- 1 1/4 cups all-purpose flour
- 1/2 tsp baking powder
- 1/4 tsp salt
- 1/3 cup whipping cream
- 3 oz cream cheese, softened
- 1/2 cup powdered sugar
- 1/2 tsp vanilla extract
- 1/4 tsp almond extract (optional)
- Cherry pie filling
Instructions
- Step 1: Cream the softened butter and sugar together in a mixing bowl until creamy and smooth. Add the egg, almond extract, and vanilla extract, then beat well to combine.
- Step 2: In a separate bowl, whisk together the flour, baking powder, and salt. Gradually add this to the creamed mixture and stir until fully combined.
- Step 3: Roll the dough into 1-inch balls and place each into a well-greased mini muffin pan. Use your thumb or the back of a teaspoon to create an indentation in each ball, forming a small cup.
- Step 4: Bake the cookie cups at 350°F (175°C) for about 10 minutes, or until the edges are lightly browned. While still warm, press down the centers with a spoon to maintain the cup shape. Transfer to wire racks and let cool completely.
- Step 5: Beat the whipping cream in a bowl until stiff peaks form. Set this aside for later use.
- Step 6: In another bowl, beat the softened cream cheese until smooth. Add powdered sugar, vanilla extract, and almond extract (if using), then blend well. Gently fold in the whipped cream until the mixture is smooth and combined.
- Step 7: Fill each cooled cookie cup with the cheesecake filling. You can pipe the filling in for a neat finish or spoon it in as you prefer.
- Step 8: Top each filled cup with a spoonful of cherry pie filling. Serve these delightful treats immediately for the best texture and flavor.
Tips & Variations
- For added texture, sprinkle finely chopped nuts or graham cracker crumbs on top of the cherry filling.
- If you prefer a different fruit flavor, substitute cherry pie filling with blueberry or strawberry preserves.
- Make sure the cream cheese and butter are softened at room temperature for smooth mixing without lumps.
- Use a piping bag with a small round tip to fill the cups neatly and evenly.
- For a boozy twist, add a teaspoon of almond liqueur to the cheesecake filling.
Storage
Store the mini cheesecake cookie cups in an airtight container in the refrigerator for up to 3 days. The cookie base may soften slightly over time. For best results, fill and top the cups just before serving. If reheating, allow them to come to room temperature; avoid microwaving to maintain texture.
How to Serve
Serve this delicious recipe with your favorite sides.
FAQs
Can I prepare these cookie cups ahead of time?
Yes, you can bake the cookie cups a day ahead and keep them stored at room temperature in an airtight container. It’s best to add the cheesecake filling and cherry topping just before serving to keep them fresh.
What can I use instead of cherry pie filling?
If you don’t have cherry pie filling, you can substitute with other fruit preserves like blueberry, strawberry, or raspberry. Fresh fruit pieces with a light glaze also work well as toppings.
PrintMini Cherry Cheesecake Cookie Cups Recipe

Mini Cherry Cheesecake Cookie Cups are delightful bite-sized treats featuring a buttery cookie base filled with a creamy cheesecake mixture and topped with sweet cherry pie filling. Perfect for parties or as a sweet snack, these no-fuss cups combine the classic flavors of cherry cheesecake in a convenient, handheld form.
- Prep Time: 20 minutes
- Cook Time: 10 minutes
- Total Time: 30 minutes
- Yield: 24 mini cookie cups 1x
- Category: Dessert
- Method: Baking
- Cuisine: American
Ingredients
Cookie Base
- 6 Tbsp butter, softened
- 1/2 cup sugar
- 1 egg
- 1/4 tsp almond extract
- 1/2 tsp vanilla extract
- 1 1/4 cups all-purpose flour
- 1/2 tsp baking powder
- 1/4 tsp salt
Cheesecake Filling
- 1/3 cup whipping cream
- 3 oz cream cheese, softened
- 1/2 cup powdered sugar
- 1/2 tsp vanilla extract
- 1/4 tsp almond extract (optional)
Topping
- Cherry pie filling
Instructions
- Cream the Butter and Sugar: In a mixing bowl, cream together the softened butter and sugar until the mixture is smooth and pale. Add the egg, almond extract, and vanilla extract, then beat thoroughly to combine all ingredients evenly.
- Mix Dry Ingredients and Combine: In a separate bowl, whisk together the flour, baking powder, and salt. Gradually add this dry mixture to the creamed mixture, stirring well until fully incorporated into a cookie dough.
- Form Dough Balls and Prepare Muffin Pan: Roll the dough into 1-inch balls. Place each ball into a well-greased mini muffin pan. Using your thumb or the back of a teaspoon, gently press down in the center of each ball to create an indentation for the filling.
- Bake the Cookie Cups: Bake the cookie cups in a preheated oven at 350°F (175°C) for about 10 minutes, or until the edges are lightly browned. Once baked, use a spoon to press the dough down slightly again in the center to deepen the cup shape. Transfer to cooling racks and allow to cool completely before filling.
- Whip the Cream: Beat the whipping cream until stiff peaks form. Set aside this whipped cream for later incorporation into the cheesecake filling.
- Prepare the Cheesecake Filling: In a clean bowl, beat the softened cream cheese until smooth. Gradually add powdered sugar, vanilla extract, and optional almond extract, and mix well. Fold in the whipped cream and beat gently until combined into a smooth, creamy filling.
- Fill the Cookie Cups: Spoon or pipe the cheesecake filling into the cooled cookie cups, filling each indentation generously.
- Add Cherry Topping and Serve: Top each filled cookie cup with a small spoonful of cherry pie filling. Serve immediately to enjoy the fresh combination of flavors and textures.
Notes
- For best results, make sure the cream cheese is fully softened to avoid lumps in the filling.
- You can prepare the cookie cups in advance and store them in an airtight container; fill and top with cherry pie filling just before serving to maintain freshness.
- If you prefer, substitute cherry pie filling with any other fruit pie filling or fresh berries.
- Using a piping bag for the cheesecake filling helps achieve a cleaner presentation but is optional.
- Ensure mini muffin pans are well greased to prevent sticking when removing the cookie cups.
Keywords: mini cherry cheesecake cookie cups, cherry cheesecake cookies, mini cheesecake desserts, cookie cups recipe, fruit topped cookie desserts