Butterfinger Bliss Balls Recipe
Introduction
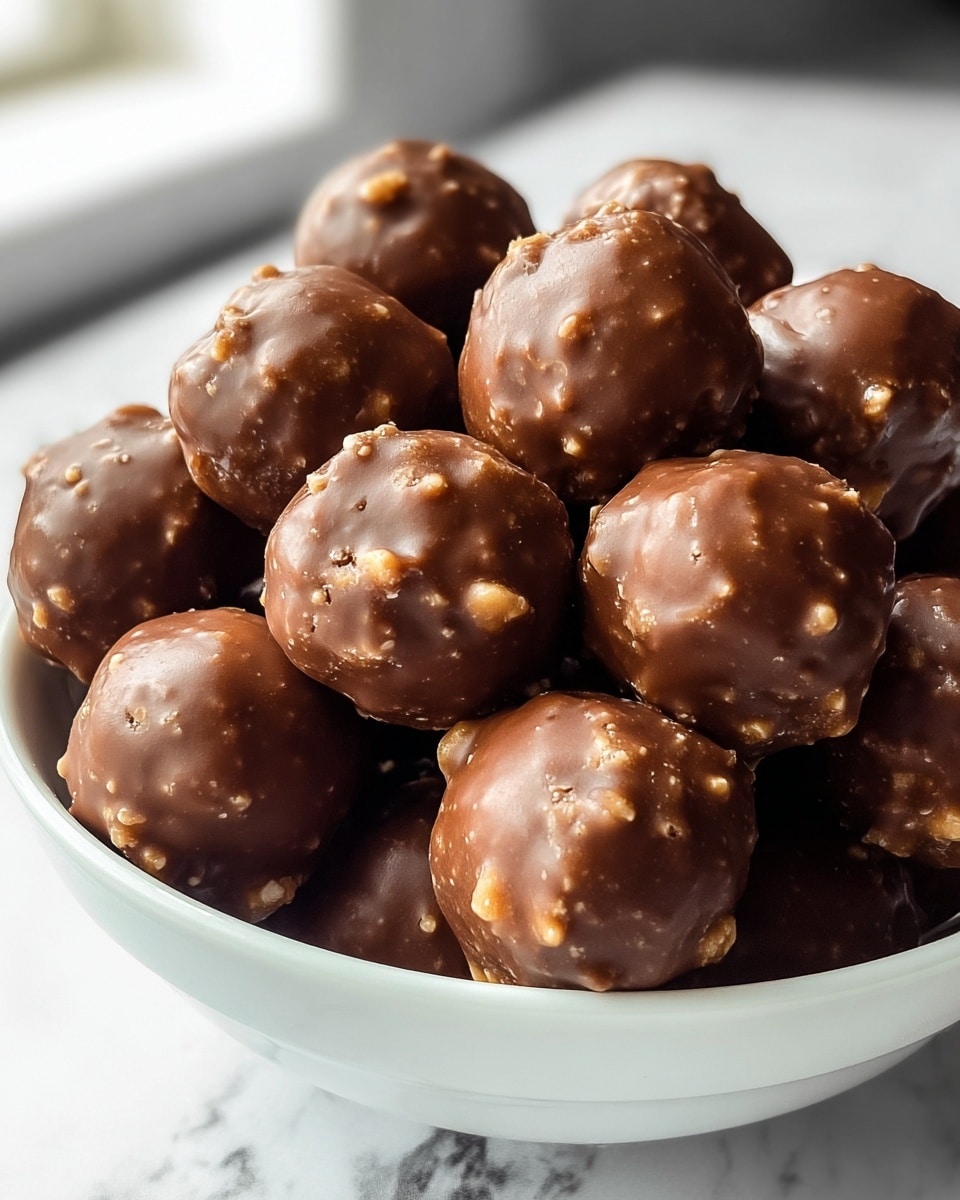
Butterfinger Balls are a deliciously rich and crunchy treat that combines creamy peanut butter, sweet powdered sugar, and the irresistible crunch of Butterfinger bars. These no-bake delights are perfect for holidays, parties, or a special homemade snack.
Ingredients
- 4 tablespoons softened butter (½ stick)
- 1 teaspoon vanilla extract
- 8 ounces chocolate bark or chocolate chips
- ½ cup Butterfinger bars (crushed)
- 1 cup powdered sugar
- 1 cup peanut butter (avoid all-natural varieties)
- ¾ cup crumbs from graham crackers
- Optional garnishes: additional crushed Butterfinger bars, festive sprinkles, or coarse sea salt
Instructions
- Step 1: In a mixing bowl, combine the peanut butter and softened butter. Use an electric or stand mixer set to medium speed and blend until the mixture is creamy and uniform.
- Step 2: Add the vanilla extract and blend thoroughly.
- Step 3: Gradually add the powdered sugar in increments, blending at a low speed. Scrape down the sides of the bowl as needed to ensure even mixing.
- Step 4: Gently fold in the graham cracker crumbs and crushed Butterfinger bars until evenly combined.
- Step 5: Line a large cookie sheet with parchment paper. Scoop out about 1 to 1½ tablespoons of the dough, roll into neat balls, and place them on the cookie sheet.
- Step 6: Freeze the dough balls on the sheet for approximately 30 minutes until they are firm.
- Step 7: Melt the chocolate in a microwave-safe bowl by heating in 30-second intervals at 50% power, stirring between each. Be careful not to overheat; some lumps can remain and will melt as you stir.
- Step 8: Dip each chilled ball into the melted chocolate, coating fully or partially as desired.
- Step 9: Sprinkle optional crushed Butterfinger bars, sprinkles, or sea salt on top for decoration.
- Step 10: Let the chocolate set completely before serving and enjoying your Butterfinger Balls.
Tips & Variations
- Use creamy peanut butter that is not all-natural to ensure the right texture and sweetness.
- For an extra crunch, add finely chopped nuts along with the crushed Butterfinger bars.
- Try dipping the balls in white or dark chocolate for a different flavor profile.
- Store the Butterfinger Balls chilled to keep their firmness and texture.
Storage
Store the Butterfinger Balls in an airtight container in the refrigerator for up to one week. You can also freeze them for up to three months. To reheat, allow frozen balls to thaw in the refrigerator for a few hours before serving.
How to Serve
Serve this delicious recipe with your favorite sides.
FAQs
Can I use natural peanut butter for this recipe?
It’s best to avoid all-natural peanut butter because it tends to be oilier and less sweet, which can affect the texture and taste of the balls. Use regular creamy peanut butter instead.
How can I melt chocolate without a microwave?
You can melt chocolate using a double boiler method by placing a heatproof bowl over simmering water, stirring frequently until smooth. This prevents the chocolate from burning.
PrintButterfinger Bliss Balls Recipe
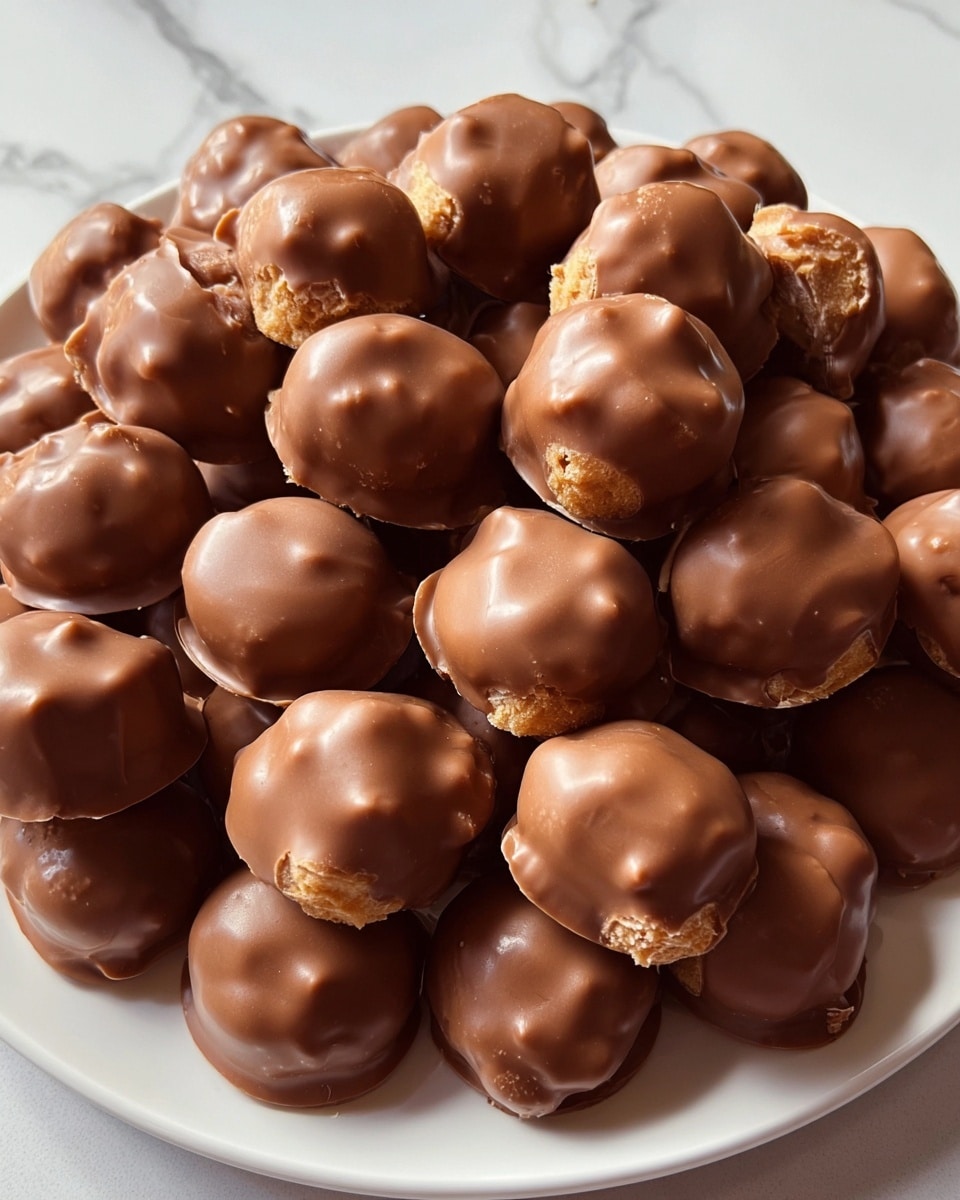
Butterfinger Balls are a decadent no-bake dessert featuring a creamy peanut butter and butter base combined with crunchy crushed Butterfinger bars and graham cracker crumbs, all coated in rich melted chocolate. These bite-sized treats offer a perfect balance of sweet, crunchy, and creamy textures, making them an ideal festive snack or party dessert.
- Prep Time: 15 minutes
- Cook Time: 0 minutes
- Total Time: 45 minutes
- Yield: Approximately 24 balls 1x
- Category: Dessert
- Method: No-Cook
- Cuisine: American
Ingredients
Base Ingredients
- 4 tablespoons softened butter (½ stick)
- 1 cup peanut butter (avoid all-natural varieties)
- 1 teaspoon vanilla extract
- 1 cup powdered sugar
- ¾ cup graham cracker crumbs
- ½ cup Butterfinger bars, crushed
Chocolate Coating
- 8 ounces chocolate bark or chocolate chips
Optional Garnishes
- Additional crushed Butterfinger bars
- Festive sprinkles
- Coarse sea salt
Instructions
- Prepare the Dough: In a mixing bowl, combine the peanut butter and softened butter. Use an electric or stand mixer set to medium speed and blend until the mixture is creamy and uniform.
- Add Aromatic Notes: Incorporate the vanilla extract and blend thoroughly to distribute the flavor evenly.
- Sweeten the Deal: Gradually add the powdered sugar in increments, blending at a low speed. Scrape down the sides of the bowl regularly to ensure even mixing.
- Crunch Time: Gently fold in the graham cracker crumbs and crushed Butterfinger bars until thoroughly combined without overmixing.
- Shape ’em Up: Line a large cookie sheet with parchment paper. Scoop out approximately 1 to 1½ tablespoons of the dough, roll into neat balls, and place them spaced evenly on the cookie sheet.
- Chilling Phase: Place the cookie sheet with dough balls in the freezer for about 30 minutes, or until the balls are completely firm.
- Melting the Chocolate: Transfer the chocolate to a microwave-safe bowl and melt in 30-second intervals at 50% power. Stir between each interval to avoid overheating and allow any remaining lumps to melt with stirring.
- Coat and Decorate: Once the dough balls are chilled, submerge each into the melted chocolate to fully coat or leave part of the peanut butter mixture exposed as desired.
- Finishing Touches: While the chocolate coating is still wet, sprinkle on additional crushed Butterfinger bars, festive sprinkles, or a dash of flaky sea salt to add texture and visual appeal.
- The Grand Finale: Allow the chocolate to set completely at room temperature or in the refrigerator before serving. Enjoy your Butterfinger Bliss Balls as a delightful treat.
Notes
- Use creamy peanut butter and avoid all-natural varieties as they can be too oily or grainy for this recipe.
- Ensure the dough balls are thoroughly chilled to prevent them from melting when dipped in chocolate.
- If you prefer, use semi-sweet or milk chocolate for the coating based on your sweetness preference.
- Store the Butterfinger Balls in an airtight container in the refrigerator for up to a week.
- For easier handling, wear disposable gloves when dipping and coating the balls with chocolate.
Keywords: Butterfinger Balls, no bake dessert, peanut butter treats, chocolate coated balls, holiday treats


