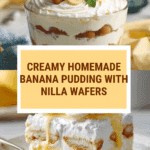
The Best Banana Pudding Recipe
Introduction
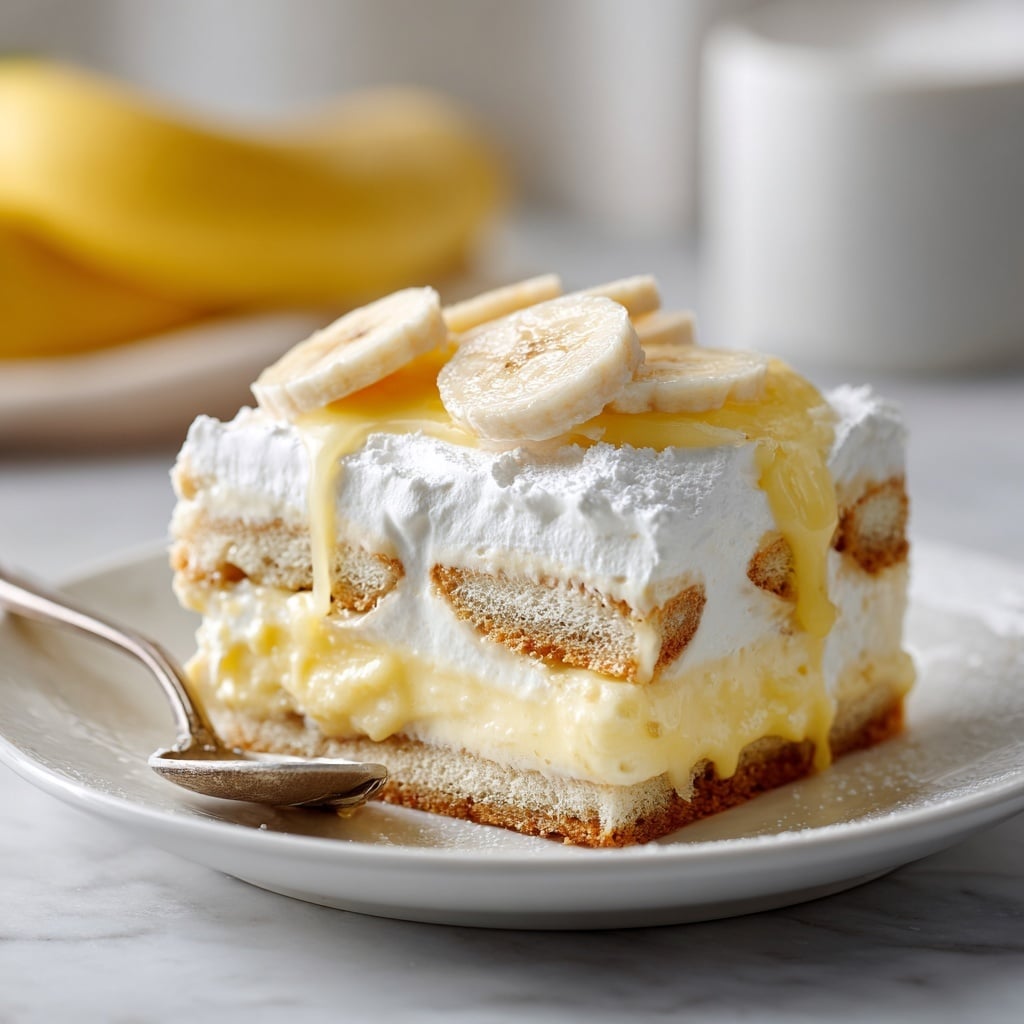
This classic banana pudding is creamy, rich, and layered with sweet vanilla wafers and fresh bananas. It’s an easy-to-make dessert that’s perfect for gatherings or a comforting treat at home.

Ingredients
- 8 ounce block cream cheese, softened to room temperature
- 14 ounce can sweetened condensed milk
- 5 ounce package INSTANT vanilla pudding mix (larger box)
- 3 cups milk (2% or higher)
- 2 teaspoons vanilla extract
- 8 ounce tub whipped topping (COOL WHIP), thawed (divided use)
- 11 ounce box Nilla wafers (divided use)
- 5-7 bananas, peeled and sliced (divided use)
Instructions
- Step 1: In a large bowl, beat the cream cheese with an electric mixer on medium speed until smooth and fluffy.
- Step 2: Add the sweetened condensed milk, vanilla pudding mix, milk, and vanilla extract. Mix until well combined.
- Step 3: Stir in half of the whipped topping until incorporated.
- Step 4: To assemble the layers, place one-third of the Nilla wafers in a layer on the bottom of a trifle dish, large bowl, or 9×13-inch baking dish.
- Step 5: Add a single layer of sliced bananas over the wafers.
- Step 6: Pour one-third of the pudding mixture on top, enough to cover the bananas completely.
- Step 7: Repeat the layering two more times with wafers, bananas, and pudding.
- Step 8: Top the final layer with the remaining whipped topping.
- Step 9: Cover with plastic wrap and refrigerate for at least 1 to 2 hours to allow the pudding to thicken and the wafers to soften.
Tips & Variations
- For extra flavor, sprinkle chopped nuts or shredded coconut between the layers.
- Use ripe but firm bananas to prevent mushy layers.
- Try substituting chocolate or banana pudding mix for a twist on the classic flavor.
- Serve chilled for the best texture and taste.
Storage
Store the banana pudding covered in the refrigerator for up to 3 days. The texture softens over time but remains delicious. For best results, enjoy within the first day. Reheat is not recommended as pudding is best served cold.
How to Serve
Serve this delicious recipe with your favorite sides.
FAQs
Can I make banana pudding ahead of time?
Yes, banana pudding can be prepared a few hours or even a day in advance. Just make sure to cover it well and keep it refrigerated to maintain freshness and texture.
What can I use if I don’t have cream cheese?
If you don’t have cream cheese, you can substitute with mascarpone or Greek yogurt for a slightly different but still creamy texture.
PrintThe Best Banana Pudding Recipe

This classic Banana Pudding recipe combines creamy layers of vanilla pudding, sweetened condensed milk, and cream cheese with fresh bananas and crunchy Nilla wafers, topped with whipped topping. This no-bake dessert is easy to prepare and perfect for gatherings or family treats, offering a luscious and comforting flavor reminiscent of Southern traditions.
- Prep Time: 15 minutes
- Cook Time: 0 minutes
- Total Time: 1 hour 15 minutes
- Yield: 8–10 servings 1x
- Category: Dessert
- Method: No-Cook
- Cuisine: American
- Diet: Vegetarian
Ingredients
Filling
- 8 ounce block cream cheese, softened to room temperature
- 14 ounce can sweetened condensed milk
- 5 ounce package INSTANT vanilla pudding mix (larger box)
- 3 cups milk (2% or higher)
- 2 teaspoons vanilla extract
- 8 ounce tub whipped topping (COOL WHIP), thawed (divided use)
Layers
- 11 ounce box Nilla wafers (divided use)
- 5–7 bananas, peeled and sliced (divided use)
Instructions
- Prepare the Cream Cheese Mixture: In a large bowl, beat the softened cream cheese using an electric mixer on medium speed until it becomes smooth and fluffy, ensuring there are no lumps.
- Add Wet Ingredients and Pudding Mix: Add the sweetened condensed milk, instant vanilla pudding mix, milk, and vanilla extract to the cream cheese. Mix everything together thoroughly until well combined and smooth.
- Incorporate Whipped Topping: Gently fold in half of the thawed whipped topping into the pudding mixture. This lightens the texture and adds creaminess.
- Layer Nilla Wafers: In a trifle dish, large bowl, or 9×13-inch baking dish, place one-third of the Nilla wafers evenly as the first layer at the bottom.
- Add a Banana Layer: Arrange a single layer of the peeled and sliced bananas over the wafers, spreading them evenly.
- Pour Pudding Mixture: Pour one-third of the prepared pudding mixture over the bananas, covering them completely to create an even layer.
- Repeat Layers: Continue layering with the remaining wafers, bananas, and pudding mixture for two more cycles, building a total of three layers.
- Top with Whipped Topping: Finish by spreading the remaining whipped topping evenly over the top of the final pudding layer to create a smooth, fluffy topping.
- Chill and Set: Cover the dish with plastic wrap and refrigerate for at least 1 to 2 hours, allowing the pudding to thicken and the wafers to soften for the best texture and flavor before serving.
Notes
- Use ripe bananas for the best flavor but avoid overly mushy ones to prevent a soggy dessert.
- For extra texture, sprinkle some crushed Nilla wafers on top just before serving.
- This pudding can be made a day ahead to save time; it tastes better once flavors meld together.
- If you prefer a lighter pudding, use fat-free or low-fat milk and whipped topping.
- Store leftovers covered in the refrigerator and consume within 3 days.
Keywords: banana pudding, no bake dessert, creamy pudding, Nilla wafers, Southern dessert, easy banana pudding