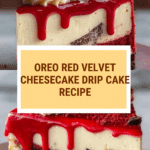
Decadent Oreo Red Velvet Cheesecake Drip Cake Recipe
Introduction
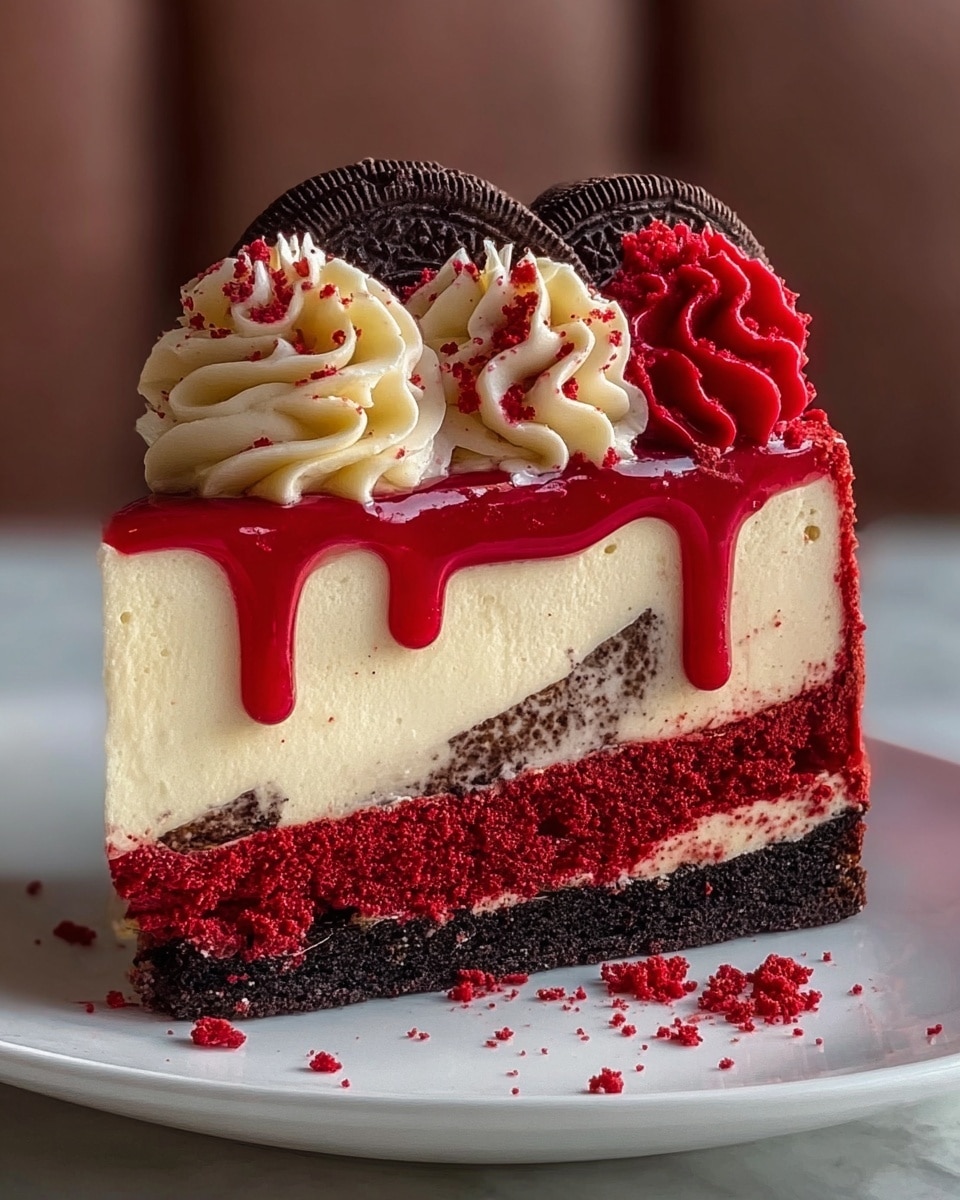
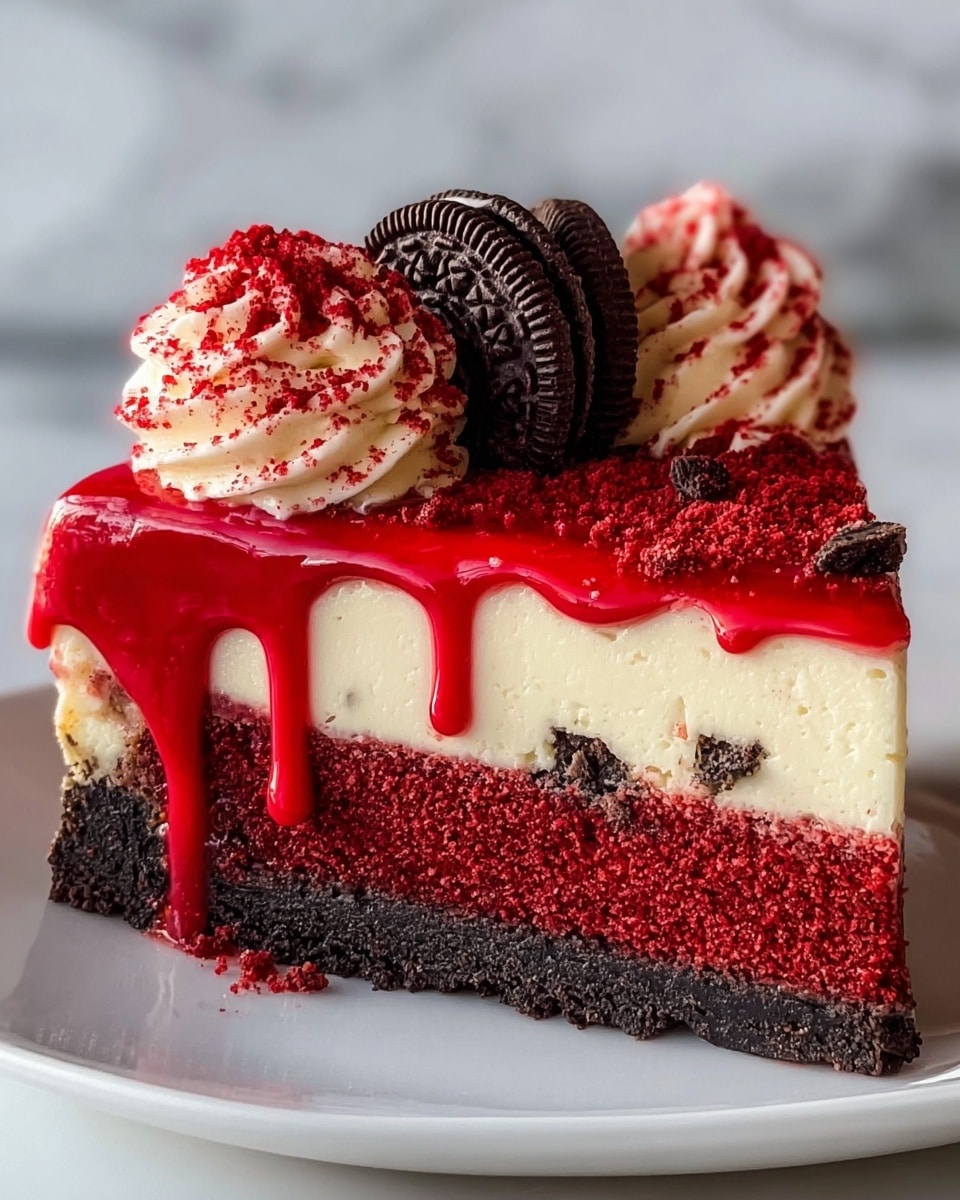
This Decadent Oreo Red Velvet Cheesecake Drip Cake combines rich red velvet cake with creamy cheesecake and a crunchy Oreo crust. Finished with a striking white chocolate red drip and Oreo garnish, it’s perfect for special occasions or indulgent treat days.
Ingredients
- 2 cups Oreo cookie crumbs
- 5 tablespoons melted butter
- 1 batch red velvet cake batter
- 24 ounces cream cheese
- 1 cup granulated sugar
- 2 teaspoons vanilla extract
- 3 large eggs
- 1/2 cup sour cream
- 1 cup white chocolate chips
- 1/2 teaspoon red gel food coloring
- 1 cup whipped topping or buttercream
- 8 whole Oreo cookies
Instructions
- Step 1: Preheat oven to 350°F (175°C). Mix Oreo crumbs and melted butter until combined. Press mixture firmly into the bottom of a springform pan. Bake for 10 minutes, then let cool completely.
- Step 2: Prepare the red velvet cake batter according to your recipe or package instructions. Pour it evenly over the cooled Oreo crust. Bake until the cake layer is just set, then allow it to cool completely.
- Step 3: Beat the cream cheese in a bowl until smooth and creamy. Gradually add sugar, vanilla extract, and eggs one at a time, beating well after each addition. Stir in sour cream and mix until fully combined.
- Step 4: Pour the cheesecake batter gently over the cooled red velvet cake layer. Place the pan in a water bath and bake at 325°F (163°C) for 50 to 60 minutes, or until the cheesecake is just set. Allow to cool, then refrigerate for at least 4 hours or overnight.
- Step 5: Melt the white chocolate chips until smooth. Stir in the red gel food coloring until the mixture is glossy and evenly colored. Let the chocolate cool slightly, then carefully drip it over the edges of the chilled cheesecake to create a decorative drip effect.
- Step 6: Top the cake with piped whipped topping or buttercream. Garnish with whole Oreo cookies around the edges or on top. Slice and serve chilled for the best texture and flavor.
Tips & Variations
- For a stronger Oreo flavor, add crushed Oreos to your cheesecake batter.
- Use homemade red velvet cake batter for a richer taste and better texture.
- Swap the white chocolate drip for dark chocolate if you prefer a less sweet finish.
- Chill the white chocolate slightly before dripping to control the flow and get perfect drips.
Storage
Store the cake covered in the refrigerator for up to 4 days. Keep it chilled until ready to serve to maintain the texture of the cheesecake and whipped topping. Leftover cake can be frozen for up to one month; thaw in the fridge overnight before serving.
How to Serve
Serve this delicious recipe with your favorite sides.
FAQs
Can I use store-bought red velvet cake mix?
Yes, a store-bought red velvet cake mix works well and saves time. Just follow the package instructions for the batter before layering it on the Oreo crust.
How do I prevent cracks on the cheesecake?
Baking the cheesecake in a water bath helps maintain even heat and prevents cracks. Avoid overbaking; it should be just set in the center when done, as it will firm up while cooling and chilling.
PrintDecadent Oreo Red Velvet Cheesecake Drip Cake Recipe

Indulge in a stunning Decadent Oreo Red Velvet Cheesecake Drip Cake, featuring a crunchy Oreo crust layered with moist red velvet cake and creamy cheesecake. Topped with a glossy red white chocolate drip and finished with whipped topping and whole Oreos, this show-stopping dessert is perfect for celebrations or any special occasion.
- Prep Time: 45 minutes
- Cook Time: 1 hour 10 minutes
- Total Time: 5 hours 55 minutes
- Yield: 12 servings 1x
- Category: Dessert
- Method: Baking
- Cuisine: American
Ingredients
Crust
- 2 cups Oreo cookie crumbs
- 5 tablespoons melted butter
Red Velvet Cake Layer
- 1 batch red velvet cake batter (prepared from your preferred recipe or boxed mix)
Cheesecake Layer
- 24 ounces cream cheese, softened
- 1 cup granulated sugar
- 2 teaspoons vanilla extract
- 3 large eggs
- 1/2 cup sour cream
Drip and Decoration
- 1 cup white chocolate chips
- 1/2 teaspoon red gel food coloring
- 1 cup whipped topping or buttercream
- 8 whole Oreo cookies
Instructions
- Prepare Crust: Preheat your oven to 350°F (175°C). Combine the Oreo cookie crumbs with melted butter until well mixed. Press this mixture firmly into the bottom of a springform pan. Bake the crust for 10 minutes, then remove and let it cool completely.
- Add Red Velvet Cake Layer: Prepare the red velvet cake batter according to your recipe or package instructions. Pour the batter evenly over the cooled Oreo crust. Bake until the cake is just set, then allow it to cool fully.
- Make Cheesecake Batter: In a mixing bowl, beat the softened cream cheese until smooth and creamy. Gradually add the granulated sugar, vanilla extract, and eggs one at a time, incorporating each thoroughly. Stir in the sour cream and mix until well combined.
- Assemble and Bake Cheesecake: Pour the cheesecake batter over the cooled red velvet cake layer. Place the springform pan into a water bath to ensure gentle, even baking. Bake at 325°F (163°C) for about 50 to 60 minutes, or until the cheesecake is just set with a slight jiggle in the center. Remove from oven, let cool to room temperature, then refrigerate for at least 4 hours or overnight for best results.
- Prepare White Chocolate Drip: Melt white chocolate chips gently using a double boiler or microwave in short bursts. Stir in the red gel food coloring until the mixture is smooth and a glossy red color. Allow the mixture to cool slightly so it thickens but remains pourable. Drip this colored white chocolate carefully over the edges of the chilled cheesecake to create an elegant drip effect.
- Decorate and Serve: Pipe whipped topping or buttercream over the top of the cake to your liking. Garnish with whole Oreo cookies arranged around the top. Slice the cake with a sharp knife and serve chilled for the best texture and flavor.
Notes
- Use a springform pan for easy removal of the layered cake.
- Baking the cheesecake in a water bath helps prevent cracking and ensures a smooth texture.
- Allow the white chocolate drip to cool slightly before drizzling to avoid it running too much.
- Refrigerate the finished cake thoroughly before serving to let flavors meld and the texture set.
- Password the red velvet cake batter preparation based on your favorite recipe or boxed mix instructions.
Keywords: Oreo cheesecake, Red velvet cake, Cheesecake drip cake, Layered cake, White chocolate drip, Dessert recipe