Quick No-Bake Salted Caramel Pretzel Bars Recipe
Introduction
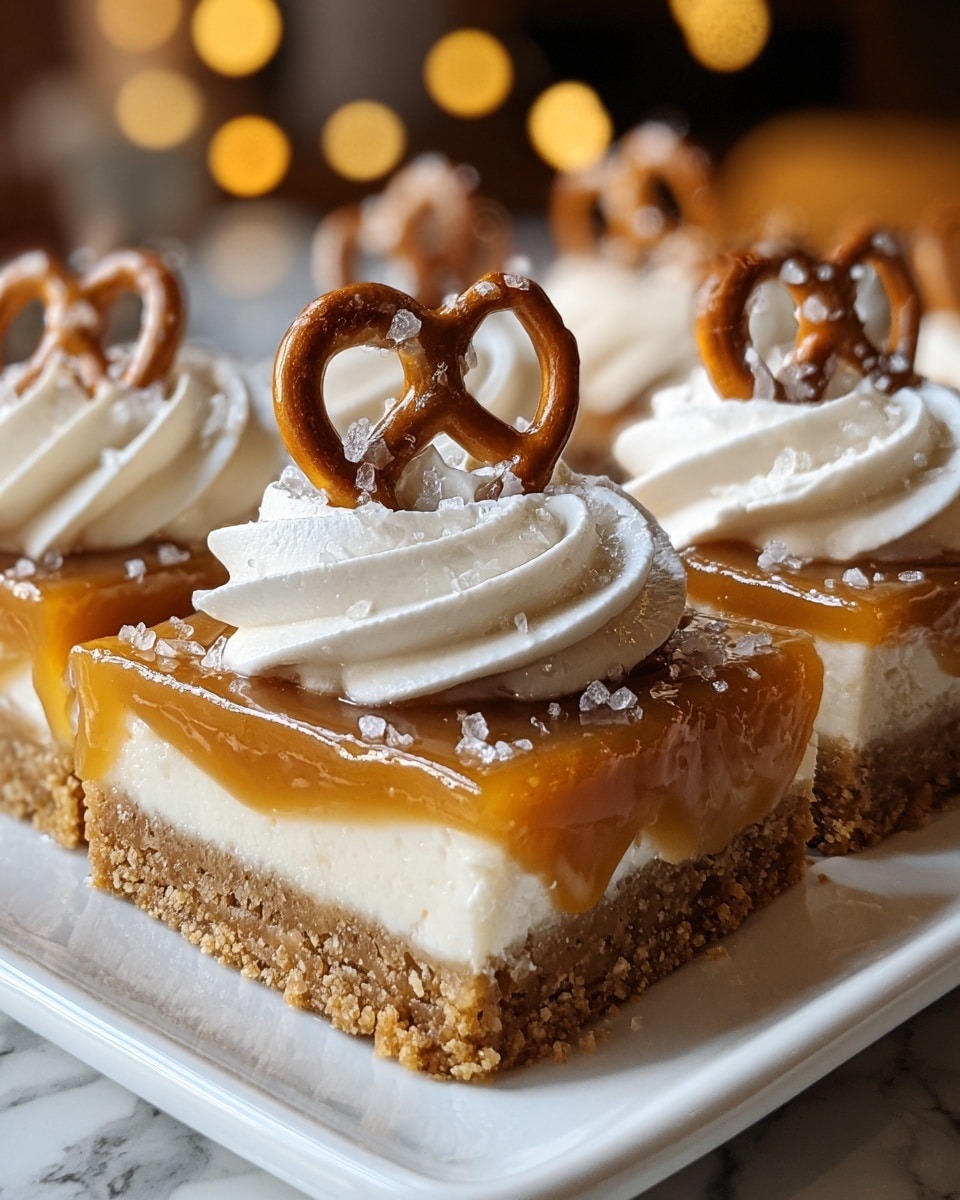
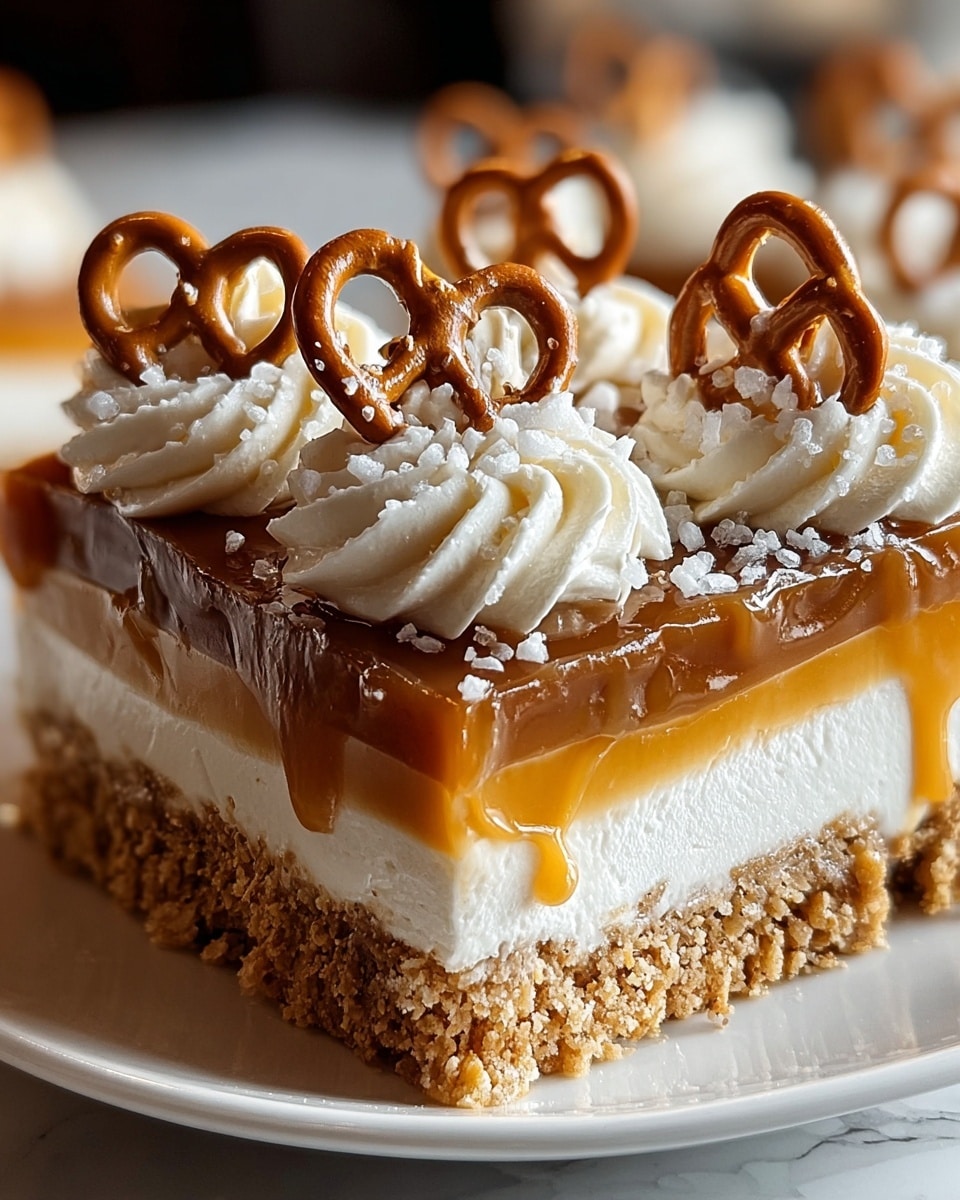
These Quick No-Bake Salted Caramel Pretzel Bars are the perfect treat for anyone craving a sweet and salty combination. Easy to make and no oven required, they feature a crunchy pretzel crust, gooey caramel, and a light creamy topping. They’re sure to satisfy your dessert cravings in no time.
Ingredients
- 2 cups pretzel crumbs (crushed pretzels)
- 1/2 cup unsalted butter, melted
- 1/4 cup granulated sugar
- 1 cup caramel sauce (store-bought or homemade)
- 1/2 teaspoon sea salt
- 1 cup heavy cream
- 1/2 cup powdered sugar
- 1 teaspoon vanilla extract
Instructions
- Step 1: In a medium bowl, combine pretzel crumbs, melted butter, and granulated sugar. Mix until well combined.
- Step 2: Press the mixture firmly into the bottom of a greased 9×9-inch baking dish to form an even crust layer.
- Step 3: Drizzle caramel sauce over the pretzel crust and spread evenly with a spatula. Sprinkle sea salt on top.
- Step 4: In a large mixing bowl, whip heavy cream until soft peaks form. Gradually add powdered sugar and vanilla extract, whipping until stiff peaks form.
- Step 5: Spread the whipped cream evenly over the caramel layer in the baking dish.
- Step 6: Cover with plastic wrap and refrigerate for at least 2 hours or until firm and set.
- Step 7: After chilling, cut into squares and serve.
Tips & Variations
- Use homemade caramel sauce for a richer flavor or add a pinch of cinnamon to the crust for a warm spice note.
- Press the pretzel crust firmly to prevent the bars from falling apart when sliced.
- For an extra touch, sprinkle crushed pretzels on top of the whipped cream before chilling.
- Replace the heavy cream topping with mascarpone cheese whipped with a bit of sugar for a tangier finish.
Storage
Store the bars in an airtight container in the refrigerator for up to 4 days. When ready to serve, you can let them sit at room temperature for a few minutes to soften slightly. These bars do not freeze well as the creamy topping may separate upon thawing.
How to Serve
Serve this delicious recipe with your favorite sides.
FAQs
Can I make these bars vegan?
To make a vegan version, substitute the butter with a vegan alternative, use a dairy-free caramel sauce, and replace the heavy cream with coconut cream whipped to stiff peaks.
How do I crush pretzels easily?
Place pretzels in a zip-top bag and use a rolling pin or heavy pan to crush them evenly. You can also pulse them a few times in a food processor, but be careful not to over-process into powder.
PrintQuick No-Bake Salted Caramel Pretzel Bars Recipe

These Quick No-Bake Salted Caramel Pretzel Bars combine a crunchy pretzel crust with a gooey salted caramel layer and a light, creamy topping. Perfect for satisfying sweet cravings without turning on the oven, these bars are easy to prepare and delightfully indulgent.
- Prep Time: 15 minutes
- Cook Time: 0 minutes
- Total Time: 2 hours 15 minutes
- Yield: 9–12 bars 1x
- Category: Dessert
- Method: No-Cook
- Cuisine: American
Ingredients
Pretzel Crust
- 2 cups pretzel crumbs (crushed pretzels)
- 1/2 cup unsalted butter, melted
- 1/4 cup granulated sugar
Caramel Layer
- 1 cup caramel sauce (store-bought or homemade)
- 1/2 teaspoon sea salt
Creamy Topping
- 1 cup heavy cream
- 1/2 cup powdered sugar
- 1 teaspoon vanilla extract
Instructions
- Prepare the Pretzel Crust: In a medium bowl, combine pretzel crumbs, melted butter, and granulated sugar. Mix until well combined. Press the mixture firmly into the bottom of a greased 9×9-inch baking dish to form an even layer.
- Layer the Caramel: Drizzle the caramel sauce over the pretzel crust. Use a spatula to spread it evenly. Sprinkle the sea salt on top of the caramel layer.
- Make the Creamy Topping: In a large mixing bowl, whip the heavy cream until soft peaks form. Gradually add powdered sugar and vanilla extract, continuing to whip until stiff peaks form.
- Assemble the Bars: Spread the whipped cream mixture over the caramel layer in the baking dish, smoothing it out to create an even top layer.
- Chill: Cover the dish with plastic wrap and refrigerate for at least 2 hours or until the bars are firm and set.
- Slice and Serve: Once chilled, remove from the refrigerator. Cut into squares and serve. Enjoy your delightful creation!
Notes
- Use store-bought caramel sauce for a quick shortcut or homemade caramel for extra flavor.
- Make sure to crush pretzels finely for a stable crust.
- The bars must be refrigerated to set properly before slicing.
- Can be stored in the refrigerator in an airtight container for up to 3 days.
- For a dairy-free version, substitute heavy cream with coconut cream and use vegan caramel sauce.
Keywords: Salted Caramel, Pretzel Bars, No Bake Dessert, Quick Dessert, Easy Sweet Treat