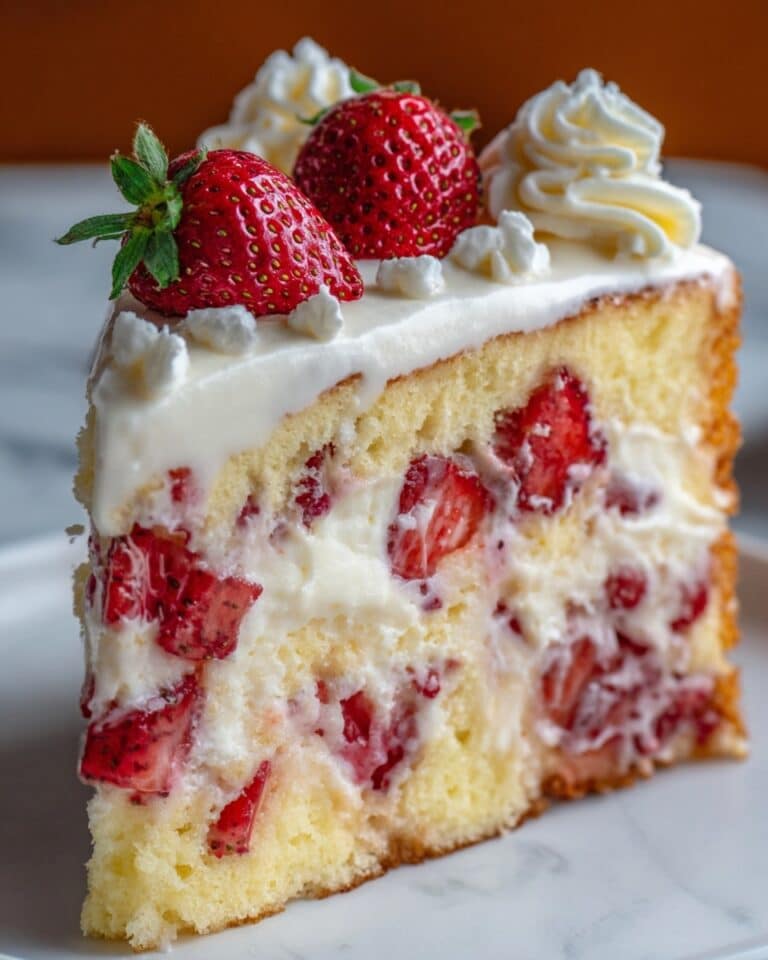
Homemade Danish Recipe You Can Master at Home Easily Recipe
There is something incredibly satisfying about mastering a classic pastry that feels both sophisticated and homey, which is exactly why I’m thrilled to share this Homemade Danish Recipe You Can Master at Home Easily. This recipe combines flaky, buttery layers with a luscious cream cheese filling and just the right hint of sweetness from a delicate glaze. It’s the kind of treat that looks like it came from a fancy bakery but is made with simple ingredients and steps you can confidently tackle in your own kitchen. Imagine the warmth of freshly baked Danish pastries filling your home—inviting, comforting, and truly unforgettable.

Ingredients You’ll Need
Every ingredient here plays a crucial role, from creating that flaky dough to adding richness and balance to the filling and glaze. They may seem straightforward, but together they create a pastry that sings with flavor, texture, and aroma.
- 4 cups all-purpose flour: The base of your dough, providing structure and chew.
- 1/3 cup granulated sugar: Adds subtle sweetness in the dough.
- 1 tsp salt: Enhances the flavors and balances sweetness.
- 1 tbsp active dry yeast: The magical agent that makes the dough rise and become airy.
- 1 cup warm whole milk: Activates the yeast and adds moisture for a tender crumb.
- 1 large egg: Adds richness and helps bind the dough.
- 1 cup + 2 tbsp cold unsalted butter: Essential for laminating and creating those signature flaky layers.
- 7 oz cream cheese, softened: The creamy heart of your filling, smooth and tangy.
- 1/4 cup granulated sugar (for filling): Sweetens the cream cheese filling to perfection.
- 1 tsp vanilla extract: Elevates the filling with warm aroma and flavor.
- Zest of 1 lemon (optional): Adds a bright, fresh note for a little zing.
- 1 cup powdered sugar: For the glaze, making the finish irresistibly sweet.
- 1–2 tbsp milk or lemon juice: Adjusts the glaze to the perfect drizzle consistency.
- 1/2 tsp vanilla extract (for glaze): Provides a lovely floral note to your glaze.
- Optional toppings: Fruit preserves, fresh berries, or sliced almonds for added flair and texture.
How to Make Homemade Danish Recipe You Can Master at Home Easily
Step 1: Prepare the Dough
Start by combining your dry ingredients in a large bowl—flour, sugar, and salt. In a separate bowl, warm the milk (make sure it’s not too hot) and sprinkle the yeast over it. Let the mixture sit for 5 to 10 minutes until it’s frothy and alive with bubbles. Then, add the egg and yeast mixture to your dry ingredients. Knead everything together for about 6 to 8 minutes until you have a smooth, elastic dough that’s ready to rest. Cover it and pop it into the fridge for half an hour—it’s the perfect moment to get everything else prepped.
Step 2: Prepare the Butter Block
The next step is the secret behind that irresistible flakiness: the butter block. Place your cold butter between two sheets of parchment and carefully pound it with a rolling pin into an 8-inch square. Chill it until it’s firm but still pliable, ready to be enveloped by your dough in the next steps. This process, called laminating, ensures layers of buttery goodness in every bite.
Step 3: Laminate the Dough
Roll your chilled dough into a 16-inch square on a lightly floured surface. Place the butter block in the center like a diamond and fold the dough corners over the butter to enclose it completely. Roll this package out into a long rectangle around 8 by 24 inches. Fold it into thirds like a letter, then chill for 30 minutes. You’ll repeat this rolling and folding two more times, chilling in between, to build those delicate layers that make a Danish so dreamy.
Step 4: Shape the Danish
After your final chill, roll the dough out to about 1/4-inch thickness and cut it into 4-inch squares. Spoon a generous tablespoon of the cream cheese filling into the center of each square. You can fold the corners toward the center, pinch the edges, or get creative with shapes—hearts and pinwheels work beautifully. For extra flair and sweetness, top with fresh berries or a spoonful of your favorite jam.
Step 5: Proof and Bake
Arrange your shaped Danishes on parchment-lined baking sheets and let them rise at room temperature for an hour, until puffy and light. Preheat your oven to 390°F (200°C). Before baking, brush the tops with an egg wash or some milk to help them brown beautifully. Bake for 15 to 20 minutes until they’re golden brown and irresistible. Your kitchen will start smelling like a fantastic bakery!
Step 6: Glaze and Serve
Once your Danishes have cooled completely, mix powdered sugar with milk or lemon juice and vanilla extract to make a smooth glaze. Drizzle it generously (or gently, if you prefer) over the pastries. This glaze adds a sweet touch that perfectly complements the buttery layers and tangy cream cheese filling. Serve them fresh and watch how quickly they disappear.
How to Serve Homemade Danish Recipe You Can Master at Home Easily

Garnishes
Adding toppings like fresh berries, a sprinkling of sliced almonds, or a dollop of fruit preserves can really elevate your Danish experience. These garnishes add natural sweetness, crunch, and a pop of color that make each pastry look as delightful as it tastes. Simple touches can make your homemade Danish feel extra special and festive.
Side Dishes
These Danishes pair wonderfully with a steaming cup of coffee or tea, and they’re perfect alongside fresh fruit for a wonderful brunch spread. You can also balance their rich sweetness with a tangy yogurt or citrus salad, adding freshness that brightens the whole meal. It’s all about complementing those buttery, flaky layers with something light and refreshing.
Creative Ways to Present
Try arranging your Danishes on a beautiful cake stand or serving platter lined with parchment paper for an inviting presentation. You might drizzle extra glaze just before serving or add edible flowers for a delicate touch. For gatherings, display them with small bowls of jam and whipped cream for guests to customize their pastries, turning this homemade treat into a delightful interactive experience.
Make Ahead and Storage
Storing Leftovers
If you have any Danishes left over (which can be rare!), keep them in an airtight container at room temperature for up to two days to preserve their flaky texture. Avoid storing in the fridge as it can dry them out. For the best taste, enjoy them fresh or gently reheat before serving.
Freezing
You can freeze unbaked shaped Danishes after proofing by placing them on a tray and freezing until firm, then wrapping tightly in foil or plastic wrap. Freeze for up to two months. When you’re ready to bake, thaw overnight in the fridge and bake as usual. This method lets you enjoy a fresh-baked Danish anytime without all the prep.
Reheating
To revive your Danishes, preheat your oven to 325°F (160°C) and warm them for 5 to 7 minutes until heated through and crisp on the outside. Avoid microwaving, which can make the pastry soggy. A quick reheat brings back that fresh-baked magic with flaky layers and creamy filling.
FAQs
Can I use frozen butter instead of cold butter for laminating?
It’s best to use cold but not frozen butter for laminating because frozen butter can break into pieces and won’t spread evenly between layers. Chill butter in the fridge until firm but pliable for smooth rolling and folding.
What can I substitute for cream cheese in the filling?
If you’re not a fan of cream cheese, mascarpone or ricotta mixed with a little sugar and vanilla can create a similarly creamy and delicious filling with a milder flavor.
How important is the chilling time during laminating?
Chilling is key to developing the flaky layers in the dough. It firms up the butter and relaxes the gluten in the dough, making it easier to roll and fold without tearing, which results in those beautiful layers when baked.
Can I make this Danish recipe vegan?
Yes! Use a plant-based butter substitute suitable for baking, non-dairy milk, and replace the cream cheese with a vegan cream cheese alternative. You might notice slight differences in texture but it still tastes fantastic.
Why did my Danishes turn out dense instead of flaky?
Dense Danishes often mean the laminating wasn’t done correctly—perhaps the butter melted during rolling or the dough wasn’t chilled enough. Ensure your ingredients are cold, handle the dough gently, and follow the rolling and folding process with proper chilling in between.
Final Thoughts
There’s nothing quite like the satisfaction of pulling a tray of golden, flaky homemade Danishes from your oven. This Homemade Danish Recipe You Can Master at Home Easily has everything you need to impress yourself and others with buttery layers, rich cream cheese filling, and a sweet glaze that melts in your mouth. With patience and care, these pastries become more than just breakfast—they become a cherished ritual and a delicious memory in the making. So, gather your ingredients, roll up your sleeves, and enjoy creating these irresistible Danishes at home!
PrintHomemade Danish Recipe You Can Master at Home Easily Recipe
Master the art of Homemade Danish pastries with this easy-to-follow recipe. Flaky, buttery laminated dough filled with a luscious cream cheese mixture, finished with a delicate glaze and optional fruit toppings for a perfect bakery-quality treat at home.
- Prep Time: 1 hour 30 minutes
- Cook Time: 20 minutes
- Total Time: 1 hour 50 minutes
- Yield: 12 Danish pastries 1x
- Category: Breakfast, Pastry, Dessert
- Method: Laminating, Baking
- Cuisine: Danish
- Diet: Vegetarian
Ingredients
For the Dough:
- 4 cups (500g) all-purpose flour
- 1/3 cup (75g) granulated sugar
- 1 tsp salt
- 1 tbsp (10g) active dry yeast
- 1 cup (240ml) whole milk, warm
- 1 large egg, room temperature
- 1 cup + 2 tbsp (250g) cold unsalted butter, for laminating
For the Cream Cheese Filling:
- 7 oz (200g) cream cheese, softened
- 1/4 cup (50g) granulated sugar
- 1 tsp vanilla extract
- Zest of 1 lemon (optional)
For the Glaze:
- 1 cup (100g) powdered sugar
- 1–2 tbsp milk or lemon juice
- 1/2 tsp vanilla extract
Optional Toppings:
- Fruit preserves
- Fresh berries
- Sliced almonds
Instructions
- Make the Dough: In a large bowl, combine the flour, sugar, and salt. In another bowl, whisk warm milk with active dry yeast and let it sit for 5–10 minutes until foamy. Add the egg and the yeast mixture to the dry ingredients. Mix and knead the dough until smooth, about 6–8 minutes. Cover the dough and chill it for 30 minutes to relax.
- Prepare Butter Block: Place the cold unsalted butter between two sheets of parchment paper. Use a rolling pin or a mallet to pound and shape the butter into an 8-inch square. Chill the butter block until firm but pliable, ready for laminating.
- Laminate the Dough: Roll the chilled dough into a 16-inch square. Place the butter block in the center of the dough in a diamond shape. Fold the corners of the dough over the butter to seal it completely. Roll the dough into a long rectangle approximately 8 by 24 inches. Fold the dough into thirds like a letter. Chill for 30 minutes. Repeat the rolling and folding process two more times, chilling the dough for 30 minutes between each turn to create flaky layers.
- Shape the Danish: Roll the laminated dough out to about 1/4-inch thickness. Cut into 4-inch squares. Place a tablespoon of cream cheese filling in the center of each square. Fold the corners inward or shape the dough as desired. Optionally, add fruit preserves or fresh berries on top of the filling before shaping.
- Proof and Bake: Arrange the shaped pastries on parchment-lined baking sheets. Allow them to rise at room temperature for about 1 hour until puffed and slightly risen. Meanwhile, preheat your oven to 390°F (200°C). Optionally brush the pastries with egg wash or milk for a shiny finish. Bake for 15–20 minutes until golden brown and cooked through.
- Glaze and Serve: Let the danishes cool completely on a wire rack. Prepare the glaze by mixing powdered sugar with milk or lemon juice and vanilla extract until smooth. Drizzle the glaze over the cooled pastries. Serve immediately and enjoy your homemade Danish delights!
Notes
- Ensure the butter and dough are cold but pliable during laminating to achieve crisp, flaky layers.
- Using room temperature egg helps in blending the dough smoothly.
- Lemon zest in the cream cheese filling adds a bright citrus flavor but can be omitted if preferred.
- Adjust the glaze thickness by varying the liquid amount; thinner glaze drizzles easily.
- Optional toppings like fresh berries or sliced almonds add texture and visual appeal.
- Keep unused dough refrigerated and well wrapped to prevent drying out.
Nutrition
- Serving Size: 1 Danish pastry (approx. 100g)
- Calories: 350 kcal
- Sugar: 18 g
- Sodium: 180 mg
- Fat: 20 g
- Saturated Fat: 12 g
- Unsaturated Fat: 7 g
- Trans Fat: 0.3 g
- Carbohydrates: 35 g
- Fiber: 1 g
- Protein: 6 g
- Cholesterol: 55 mg
Keywords: Homemade Danish, Danish Pastry Recipe, Cream Cheese Danish, Laminated Dough, Breakfast Pastry, Easy Danish Recipe


