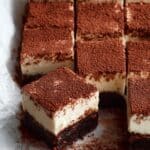
Gluten Free Tiramisu Brownies Recipe
Introduction
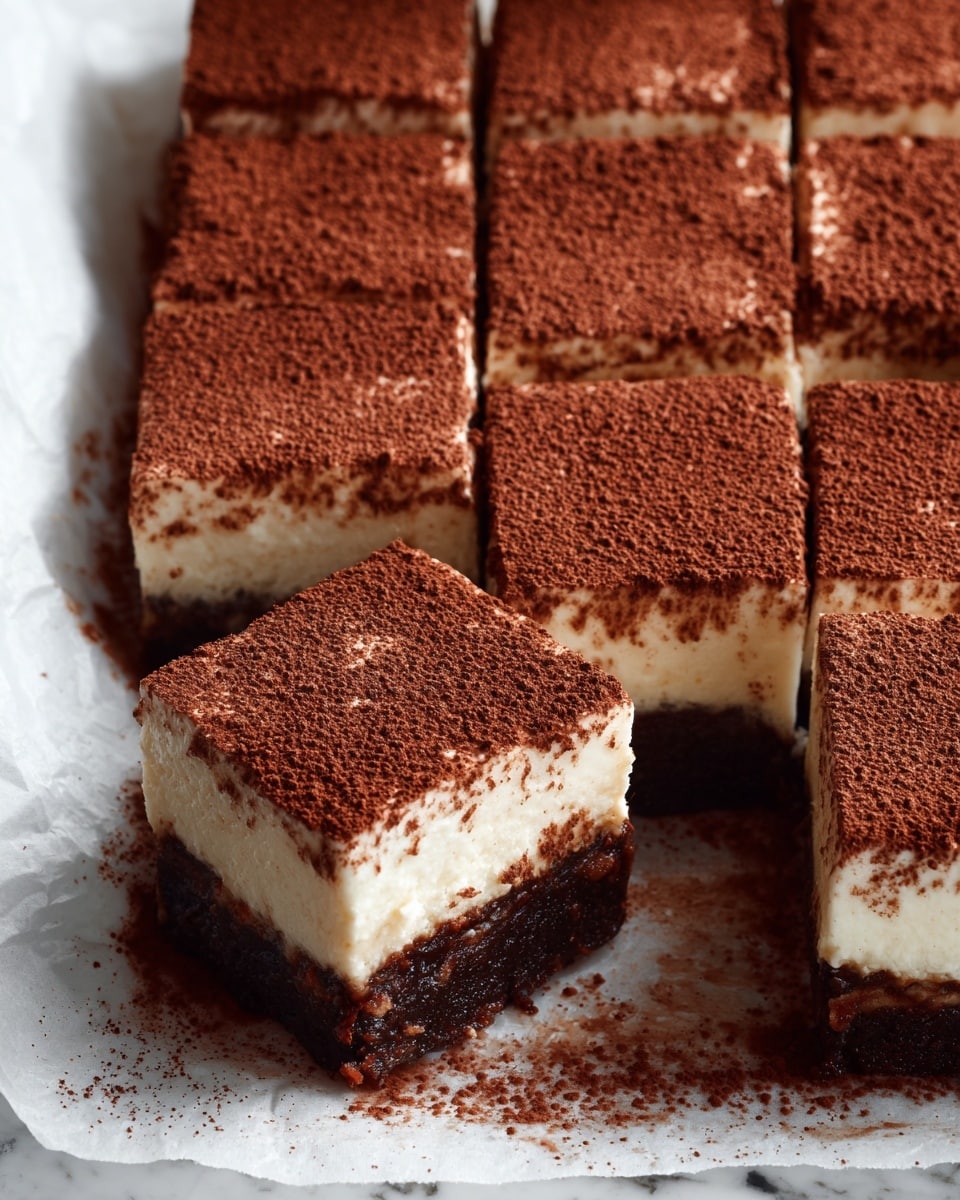
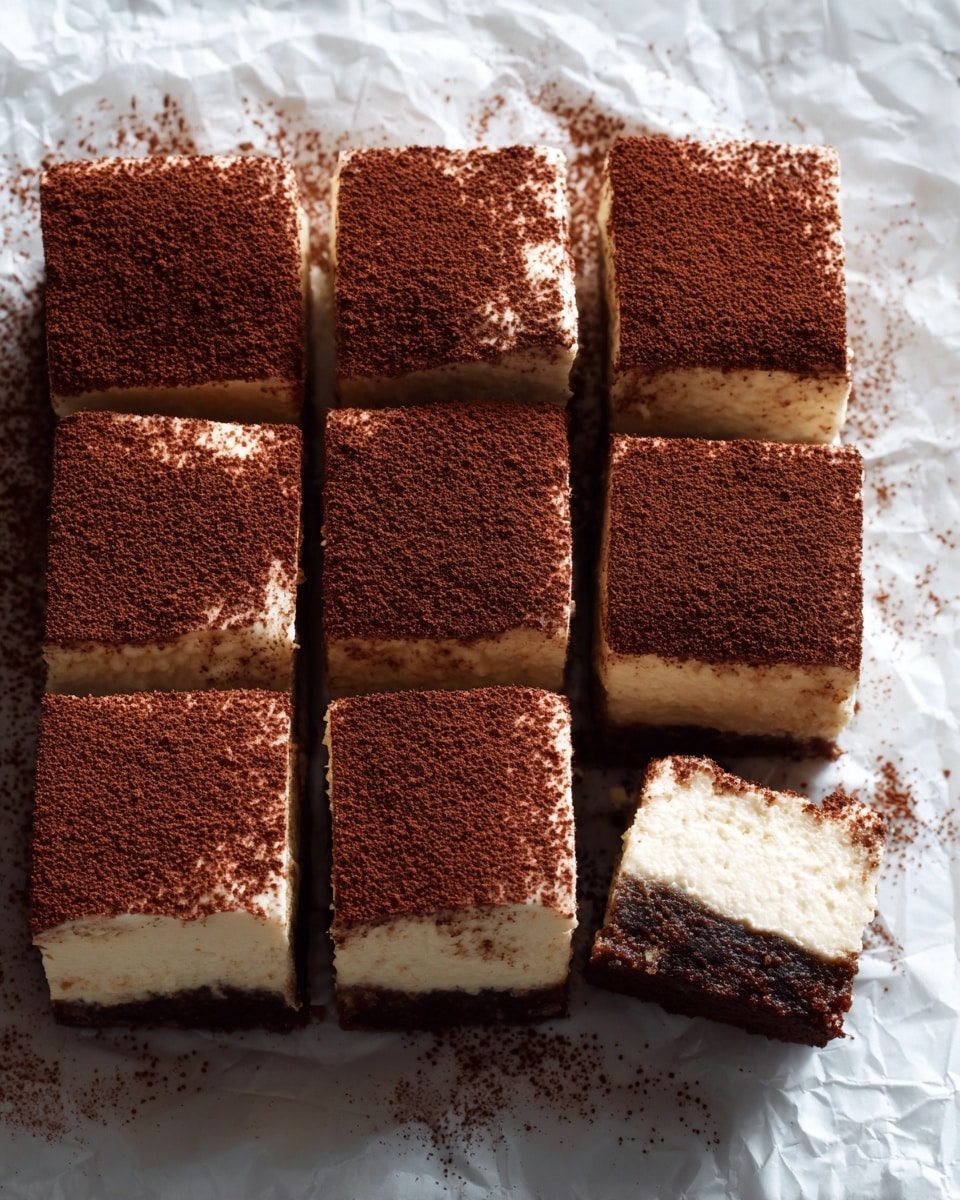
These Gluten Free Tiramisu Brownies combine the rich decadence of classic brownies with the creamy elegance of tiramisu. Perfect for anyone craving an indulgent treat without gluten, they offer layers of chocolate and coffee flavor in every bite.
Ingredients
- 1/2 cup gluten free all-purpose flour
- 1/3 cup cocoa powder
- 1 tablespoon espresso powder
- 1 cup sugar
- 2 large eggs
- 1/2 cup melted butter
- 1 teaspoon vanilla extract
- 1 cup mascarpone cheese
- 3/4 cup heavy whipping cream
- 1/3 cup powdered sugar
- 1/4 cup brewed espresso or strong coffee, cooled
- Unsweetened cocoa powder (for dusting)
Instructions
- Step 1: Preheat the oven to 350°F (175°C) and line an 8×8 inch baking pan with parchment paper.
- Step 2: In a bowl, mix the melted butter, sugar, eggs, and vanilla extract until smooth and well combined.
- Step 3: In a separate bowl, whisk together the gluten free flour, cocoa powder, and espresso powder.
- Step 4: Gradually combine the wet and dry ingredients, stirring until a thick batter forms.
- Step 5: Pour the batter into the prepared pan and smooth the top. Bake for 20–25 minutes, then let the brownies cool completely.
- Step 6: In another bowl, beat the mascarpone cheese with powdered sugar and vanilla extract until creamy.
- Step 7: In a separate bowl, whip the heavy cream to stiff peaks and gently fold it into the mascarpone mixture.
- Step 8: Add the brewed espresso to the cream mixture and carefully fold to combine.
- Step 9: Spread the tiramisu cream evenly over the cooled brownies. Chill in the refrigerator for at least 2 hours to set.
- Step 10: Before serving, dust the brownies with unsweetened cocoa powder, slice, and enjoy chilled.
Tips & Variations
- For a stronger coffee flavor, increase the espresso powder slightly or use espresso instead of brewed coffee.
- Substitute the mascarpone with cream cheese for a tangier tiramisu topping.
- Use gluten free chocolate chips in the batter for added texture and chocolate bursts.
- If you prefer, dust with shaved dark chocolate instead of cocoa powder for a decorative finish.
Storage
Store the tiramisu brownies covered in the refrigerator for up to 3 days. Keep them chilled to maintain the creamy topping’s texture. To enjoy, serve straight from the fridge or let sit at room temperature for 10 minutes. They are not recommended for freezing due to the cream topping.
How to Serve
Serve this delicious recipe with your favorite sides.
FAQs
Can I use regular flour instead of gluten free flour?
Yes, you can substitute regular all-purpose flour if gluten is not a concern. The texture may be slightly different, but the brownies will still be delicious.
Can I make these ahead of time?
Absolutely! These brownies actually benefit from resting in the refrigerator, which allows the tiramisu cream to set and flavors to meld. Just be sure to cover them well to prevent drying out.
PrintGluten Free Tiramisu Brownies Recipe
These Gluten Free Tiramisu Brownies combine the rich, fudgy texture of classic brownies with the creamy, coffee-infused layers inspired by traditional tiramisu. Perfect for those seeking a gluten-free dessert that is both indulgent and elegant, this recipe features a luscious mascarpone cream topping and a dusting of cocoa powder for a perfect finish.
- Prep Time: 15 minutes
- Cook Time: 25 minutes
- Total Time: 2 hours 40 minutes
- Yield: 9 brownies 1x
- Category: Dessert
- Method: Baking
- Cuisine: Italian-inspired
- Diet: Gluten Free
Ingredients
Brownie Base
- 1/2 cup gluten free all-purpose flour
- 1/3 cup cocoa powder
- 1 tablespoon espresso powder
- 1 cup sugar
- 2 large eggs
- 1/2 cup melted butter
- 1 teaspoon vanilla extract
Tiramisu Cream Topping
- 1 cup mascarpone cheese
- 3/4 cup heavy whipping cream
- 1/3 cup powdered sugar
- 1/4 cup brewed espresso or strong coffee, cooled
Finishing Touch
- Unsweetened cocoa powder (for dusting)
Instructions
- Preheat and Prepare Pan: Preheat your oven to 350°F (175°C) and line an 8×8 inch baking pan with parchment paper to prevent sticking and ensure easy removal of brownies.
- Mix Wet Ingredients: In a bowl, combine the melted butter, sugar, eggs, and vanilla extract. Whisk until the mixture is smooth and well incorporated.
- Combine Dry Ingredients: In a separate bowl, whisk together the gluten free all-purpose flour, cocoa powder, and espresso powder to ensure even distribution of flavors.
- Make Brownie Batter: Gradually add the dry ingredients to the wet ingredients, stirring until a thick, uniform batter forms without overmixing to keep brownies tender.
- Bake Brownies: Pour the batter evenly into the prepared pan and smooth the top with a spatula. Bake for 20 to 25 minutes until a toothpick inserted near the center comes out with moist crumbs but no wet batter. Allow the brownies to cool completely in the pan.
- Prepare Mascarpone Cream: In a clean bowl, beat mascarpone cheese with the powdered sugar and 1 teaspoon vanilla extract (added from step 2) until smooth and creamy.
- Whip Cream: In a separate bowl, whip the heavy cream to stiff peaks to create a light and fluffy texture, which will give the tiramisu topping a luxurious mouthfeel.
- Combine Cream and Espresso: Gently fold the whipped cream into the mascarpone mixture, then carefully fold in the cooled brewed espresso, blending to combine without deflating the whipped cream.
- Assemble Tiramisu Brownies: Spread the tiramisu cream evenly over the cooled brownies, covering the entire surface smoothly. Refrigerate the assembled brownies for at least 2 hours to allow flavors to meld and cream to set.
- Finish and Serve: Before serving, dust the top generously with unsweetened cocoa powder for a classic tiramisu look. Slice into squares and serve chilled for the best texture and flavor.
Notes
- Ensure the brownies are completely cooled before spreading the mascarpone cream to prevent melting.
- Use brewed espresso or strong coffee that is fully cooled to avoid curdling the cream.
- Chilling the brownies for longer than 2 hours will deepen the flavors and firm up the topping for easier slicing.
- You can substitute sugar with a gluten free-friendly sweetener if preferred.
- For an extra espresso kick, brush a little coffee over the brownies before adding the cream layer.
Keywords: gluten free brownies, tiramisu brownies, gluten free dessert, mascarpone cream, coffee flavored dessert, Italian dessert